“Second star to the right, and straight on ’til morning.”
Peter Pan
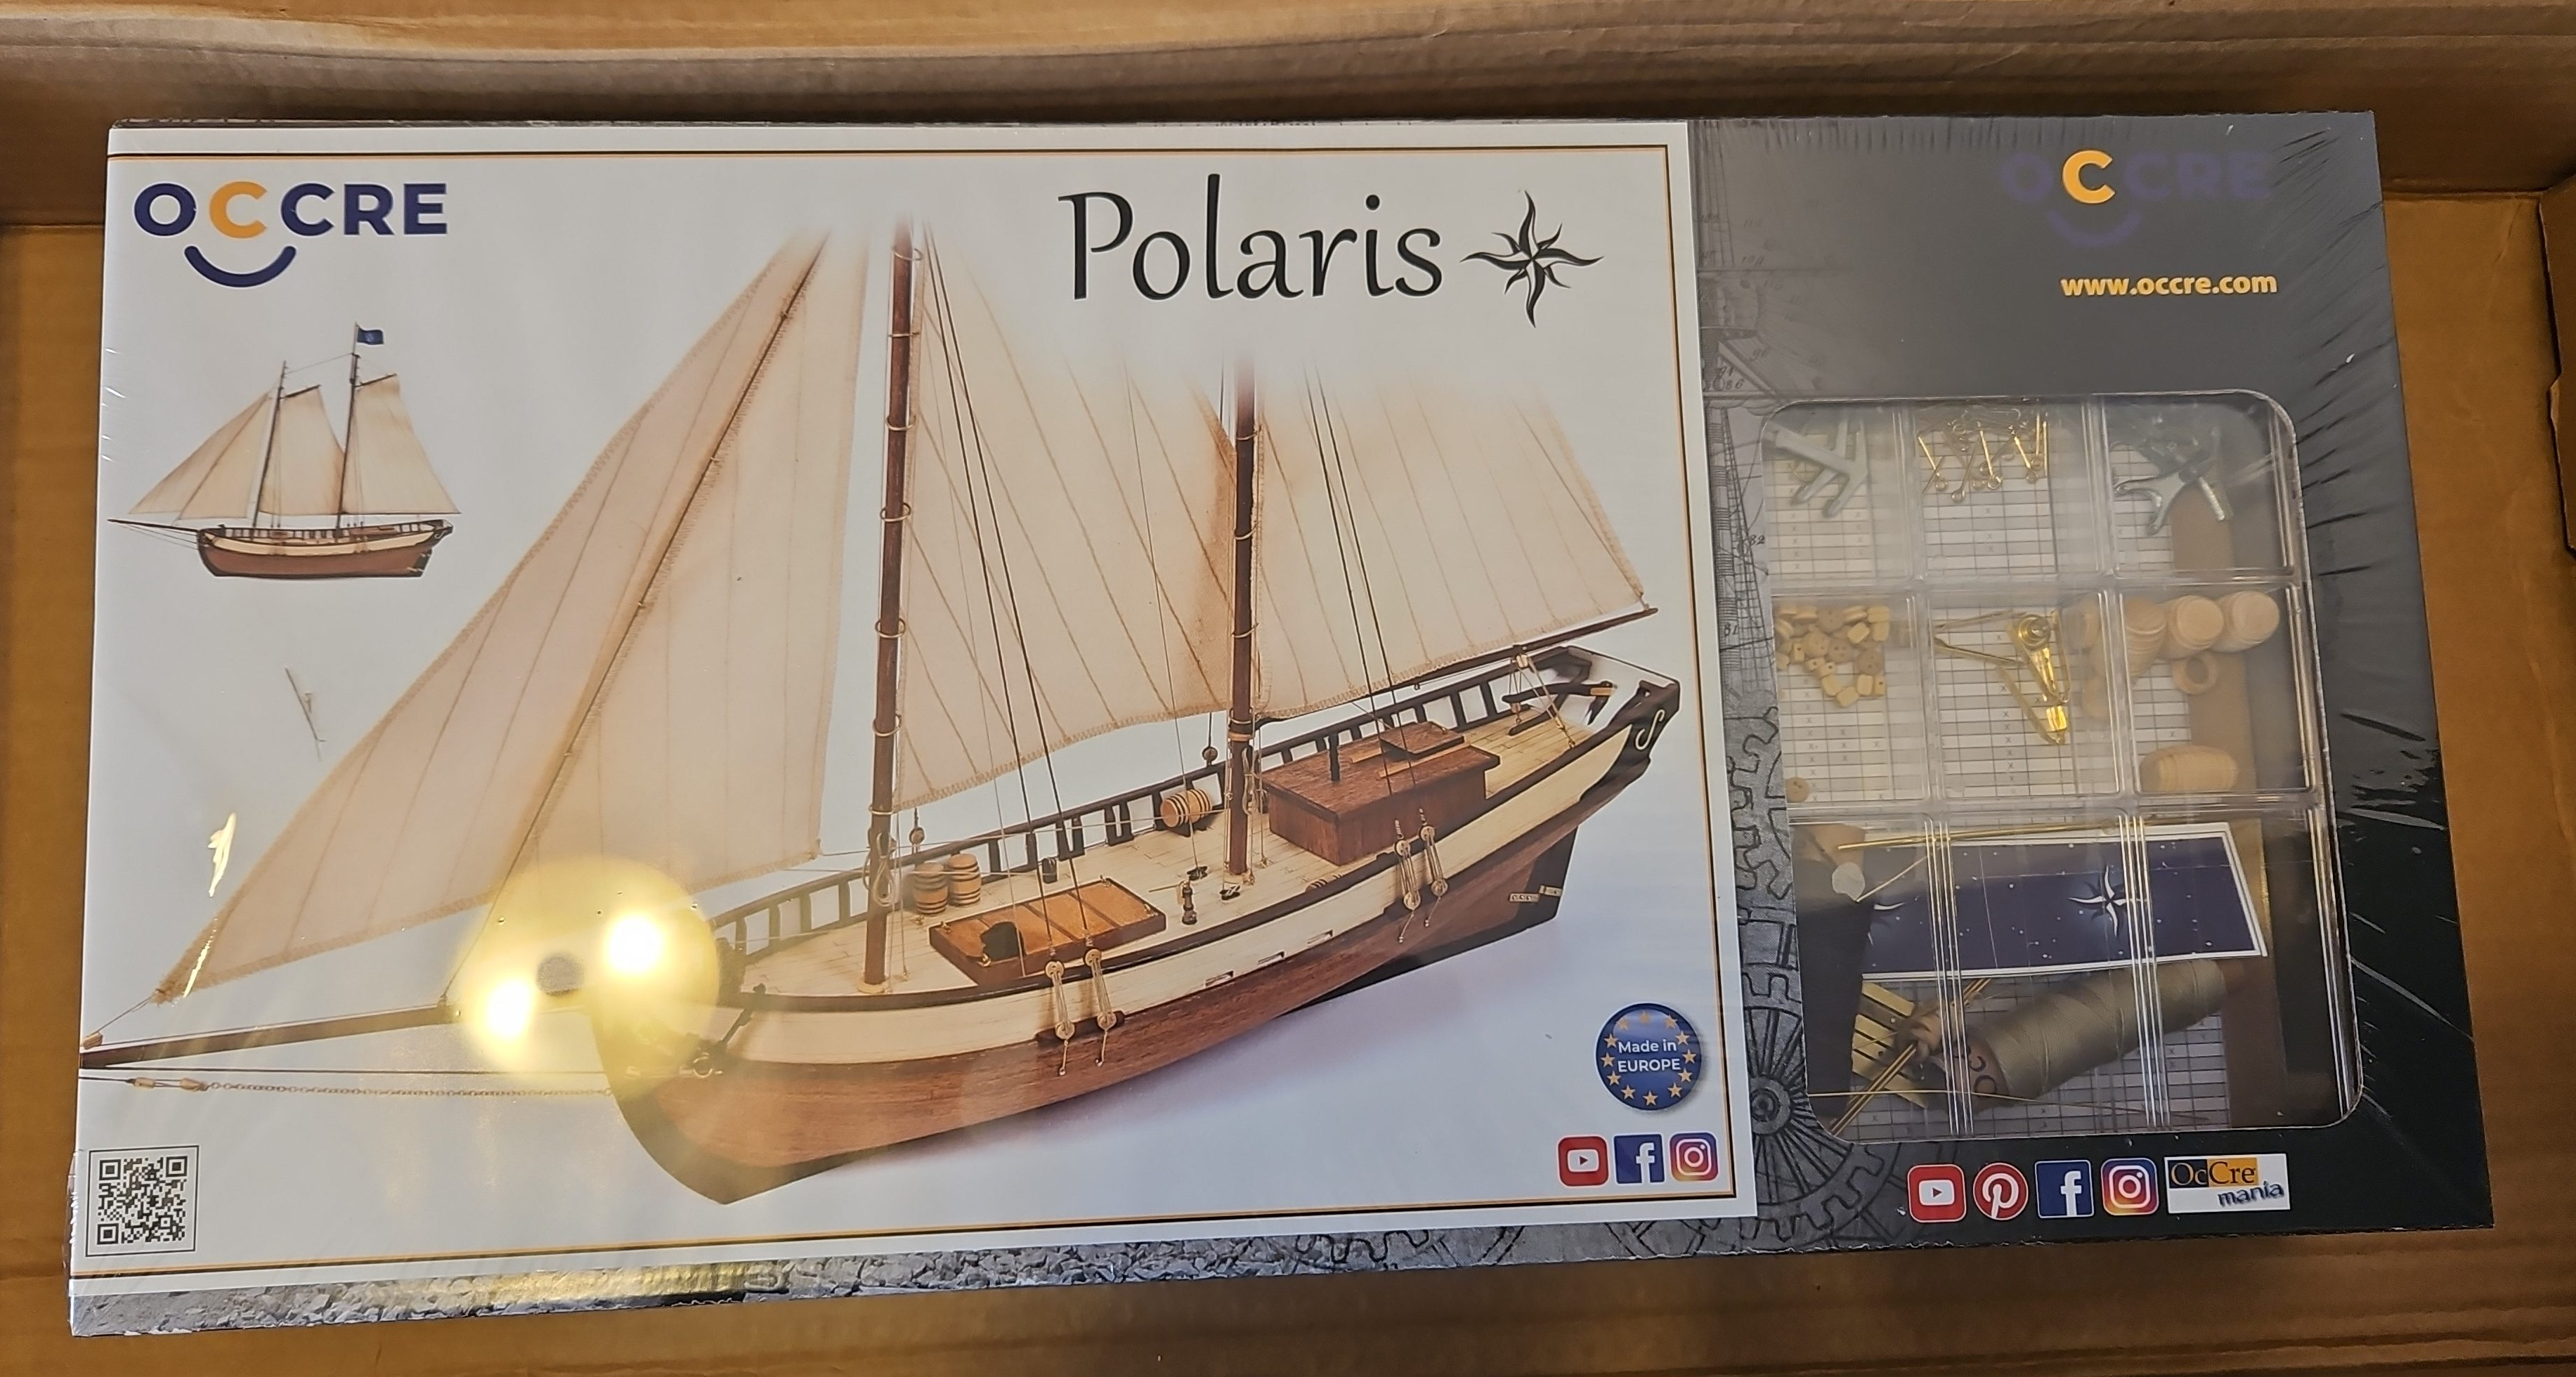
Kit Details
- Scale: 1/50
- Brand: OcCre

Summary
The name Polaris corresponds to the “Pole Star”, the guiding star used by navigators. The Polaris ship aims to be a guide to get started in naval modelling.
Being an introductory ship model, this was my first start with wooden ship modelling. The tools and techniques are very different from plastic ship modelling, and serve to create a foundation for much more complex ship building.
Photos
Polaris, like other OcCre kits, comes neatly contained, with all the wood stock and brass accessories needed to create a model ship.
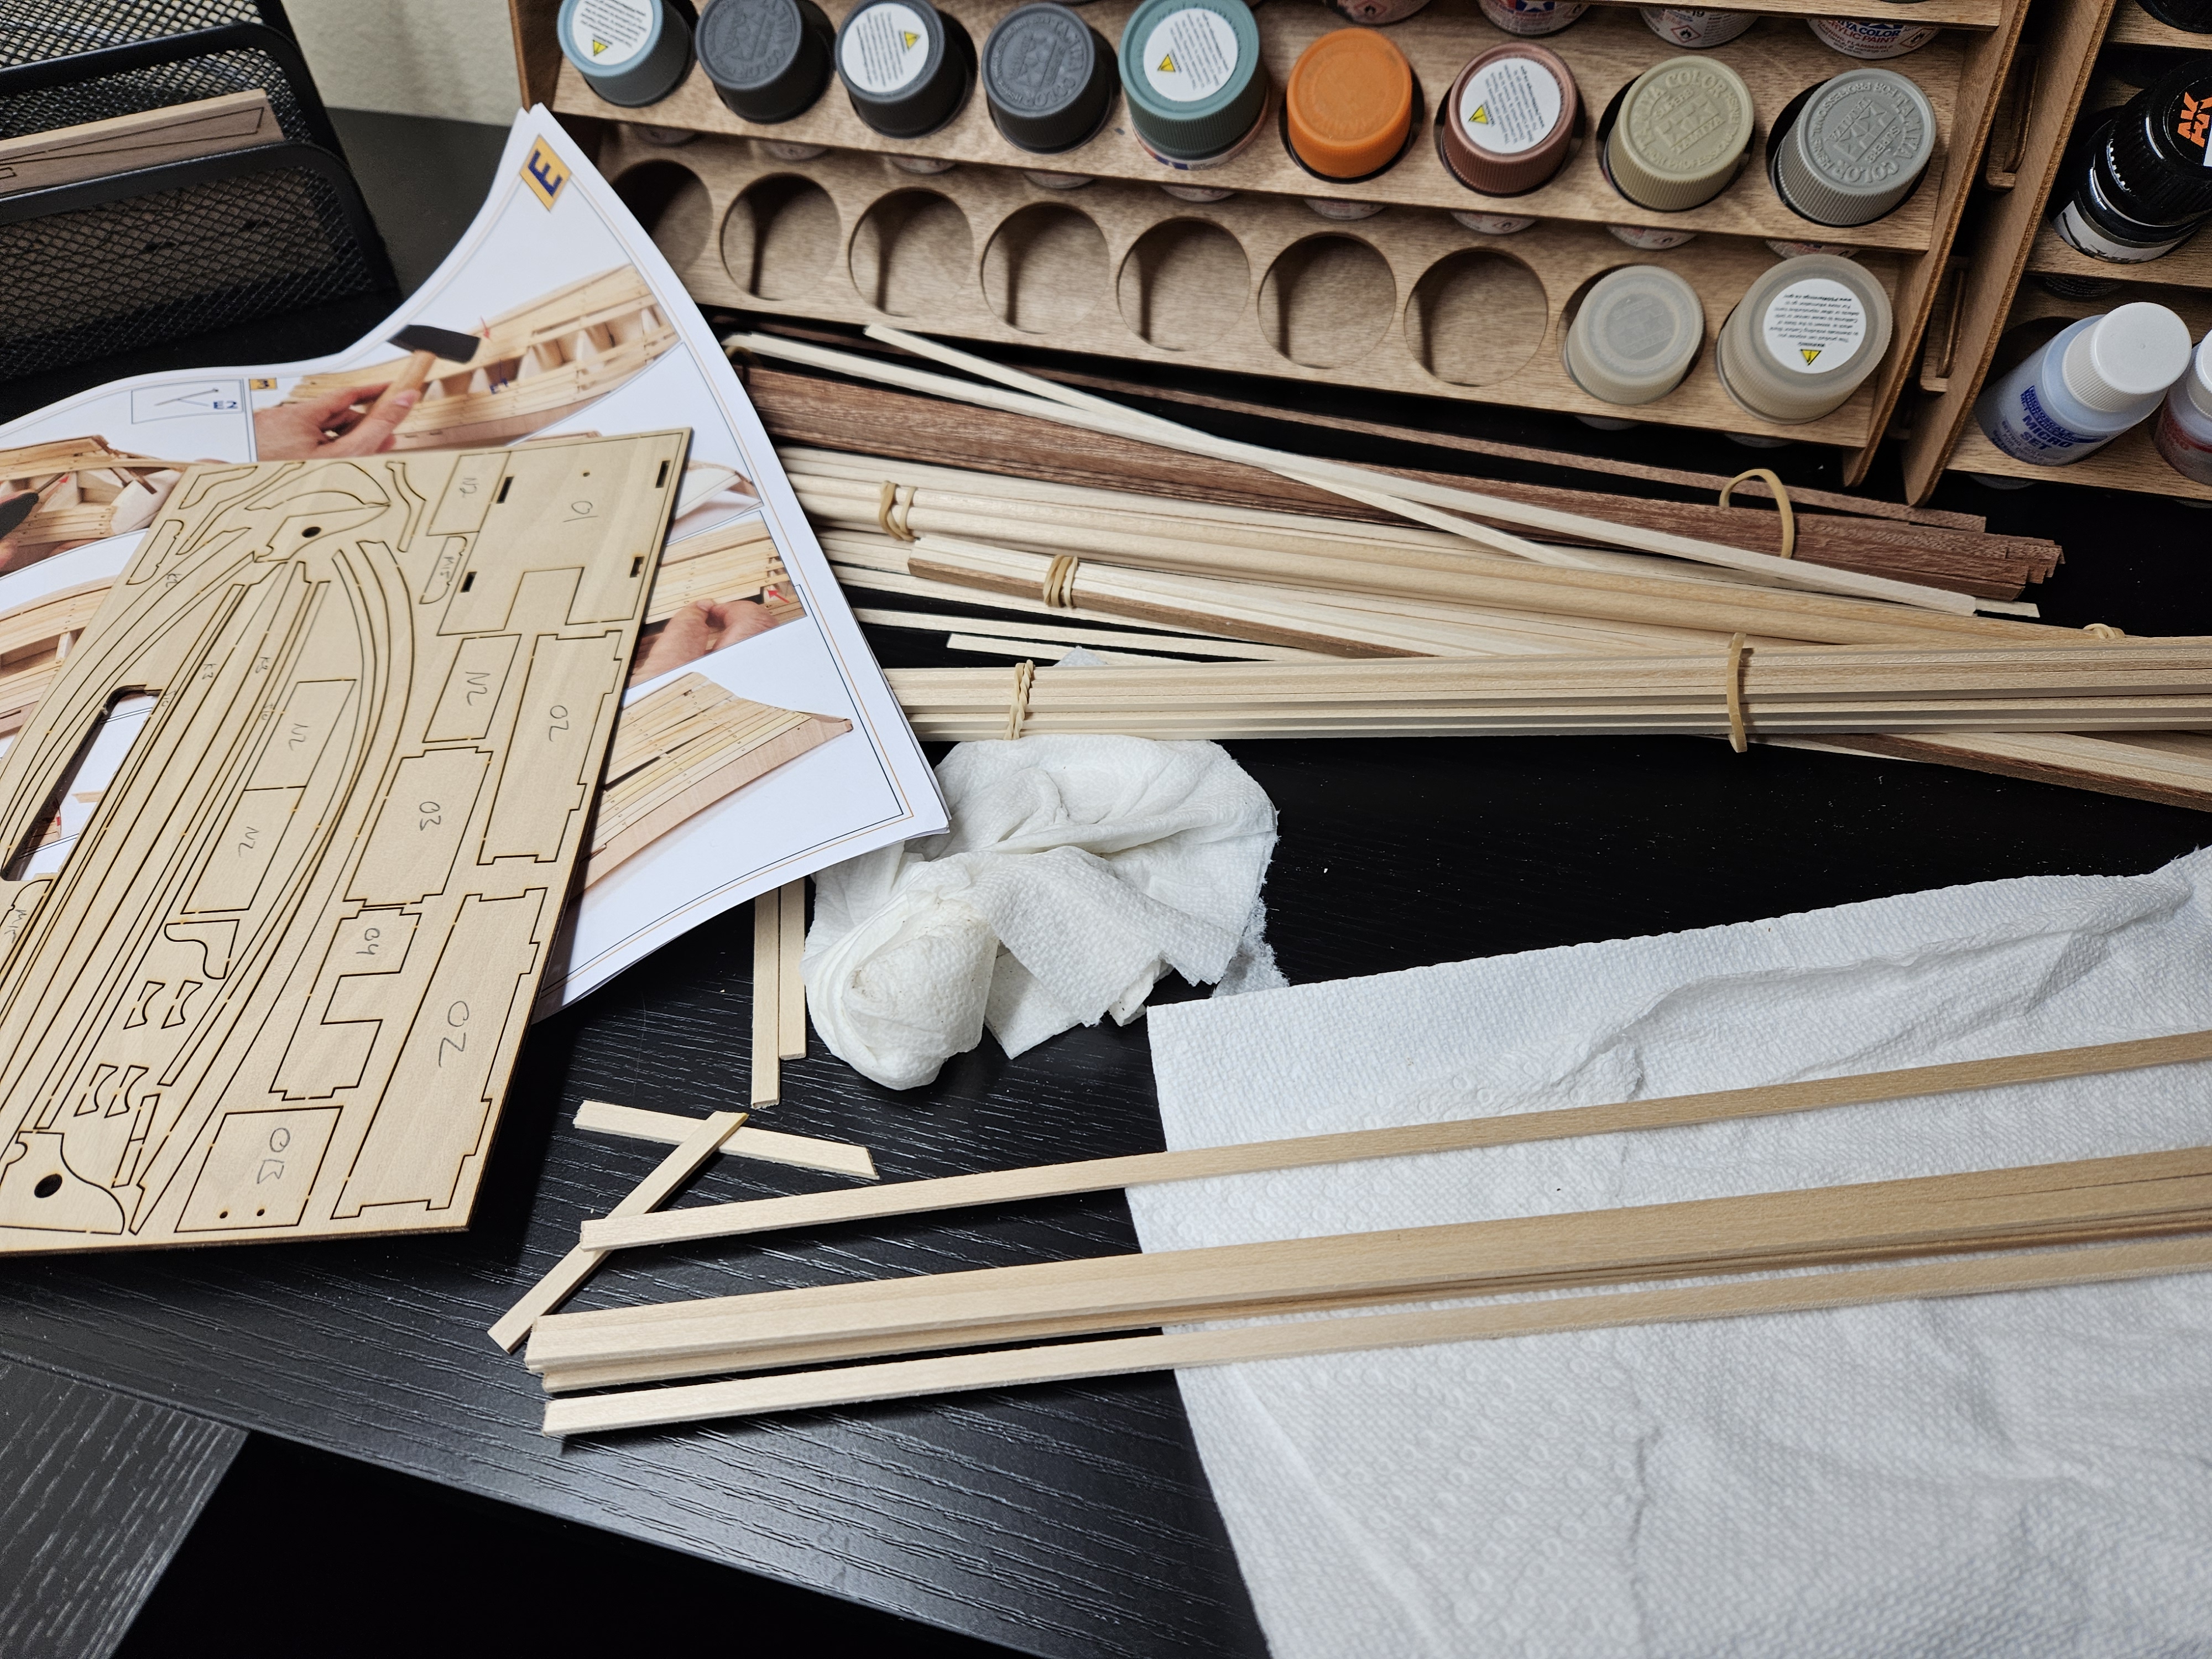
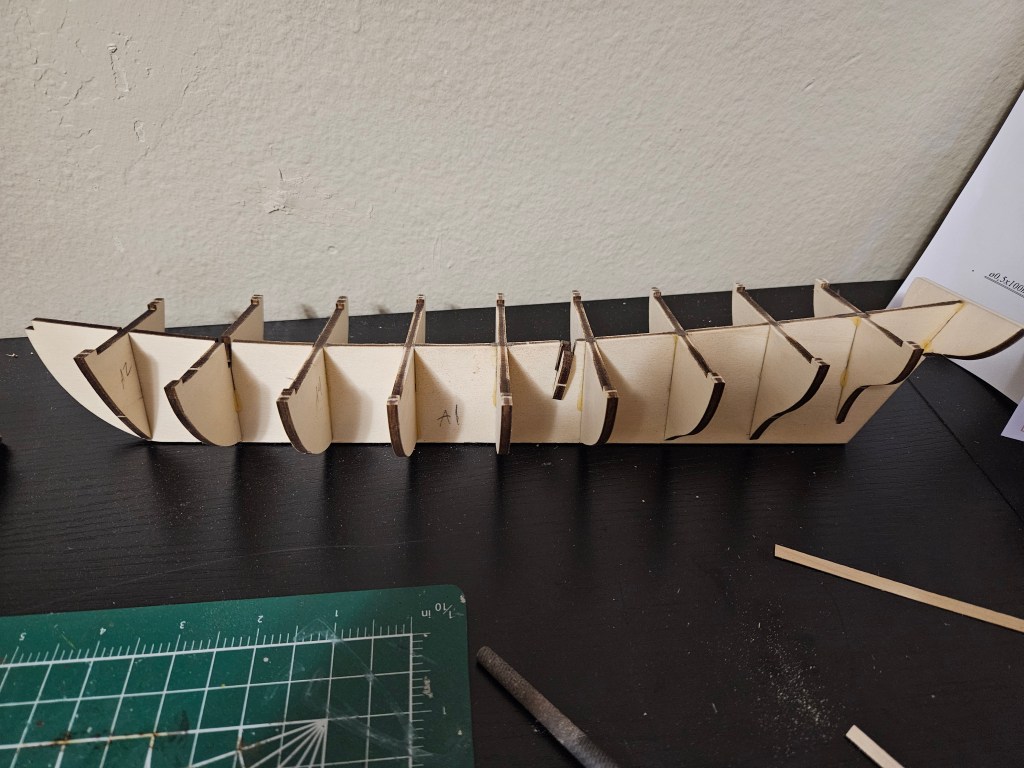
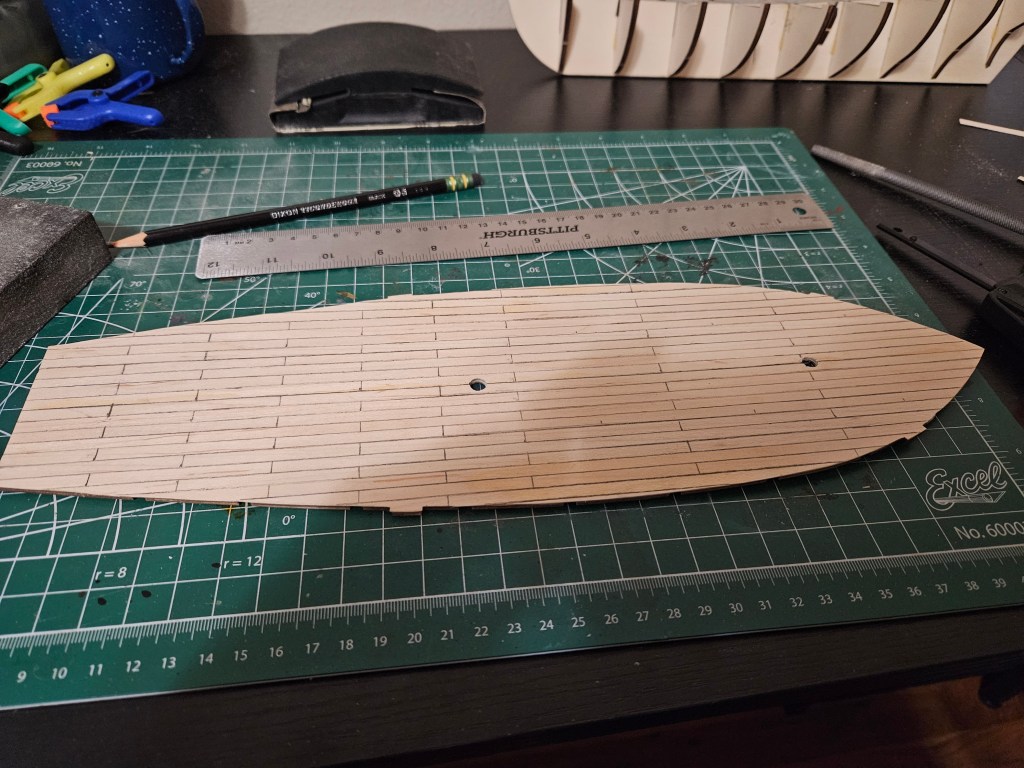
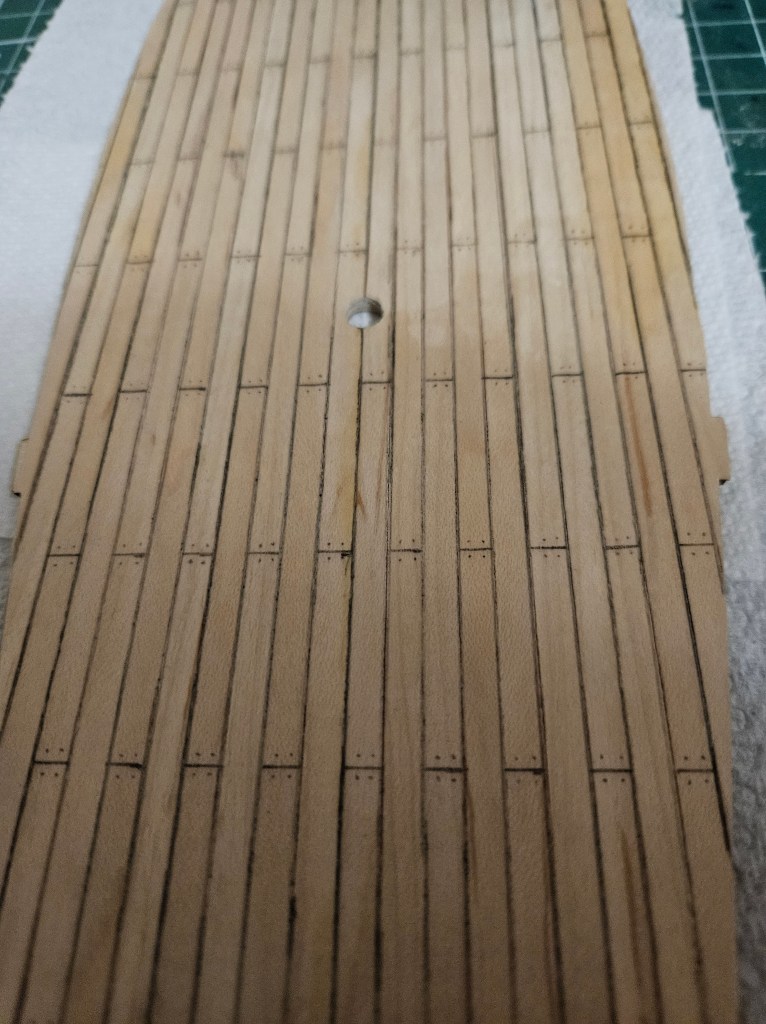
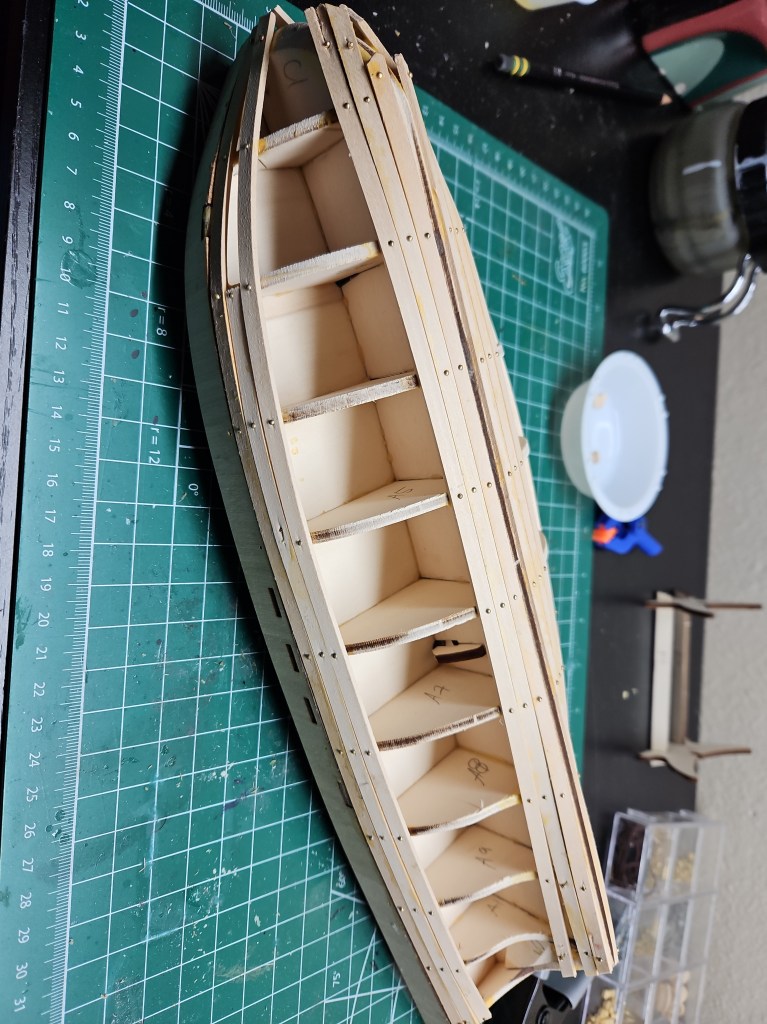
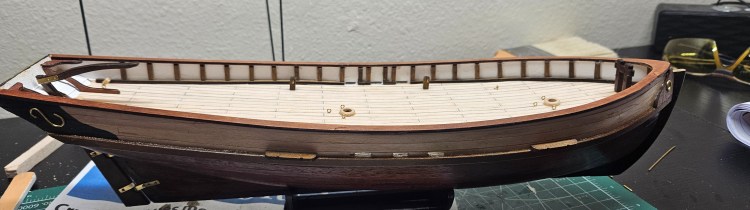
Assembling the skeleton included gluing the bulkheads onto the frame, then gluing and marking the deck. Thin strips were glued onto the “false deck” piece, then attached to the frame. The bulkheads were then sanded, and then the bulwarks attached.


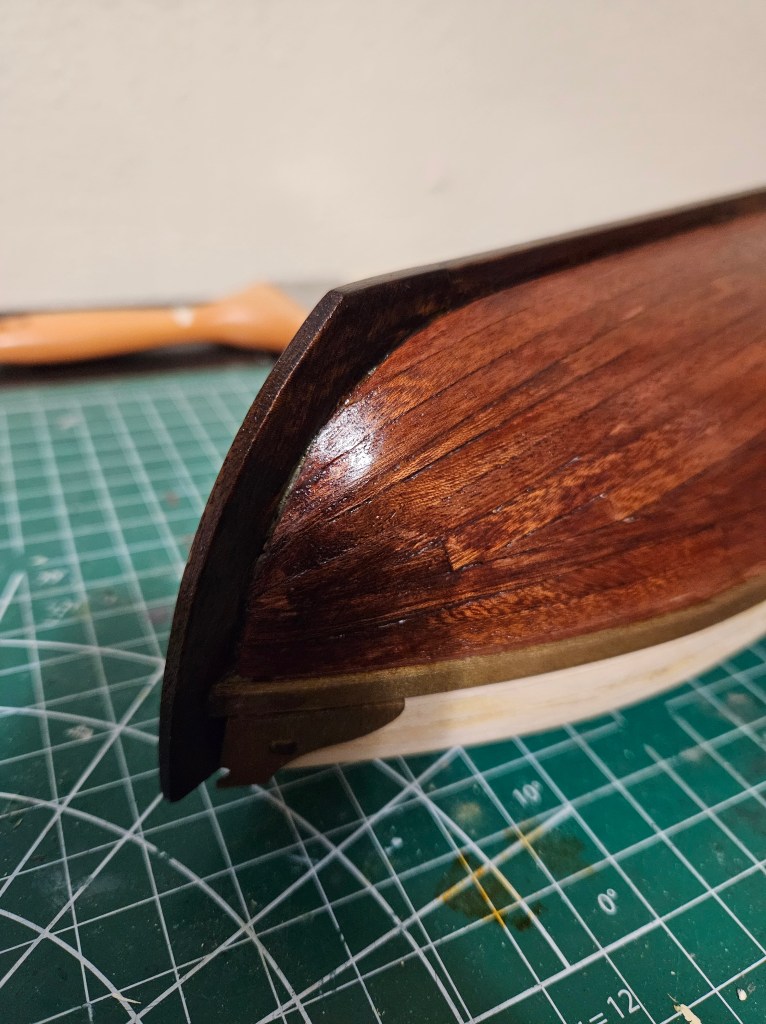
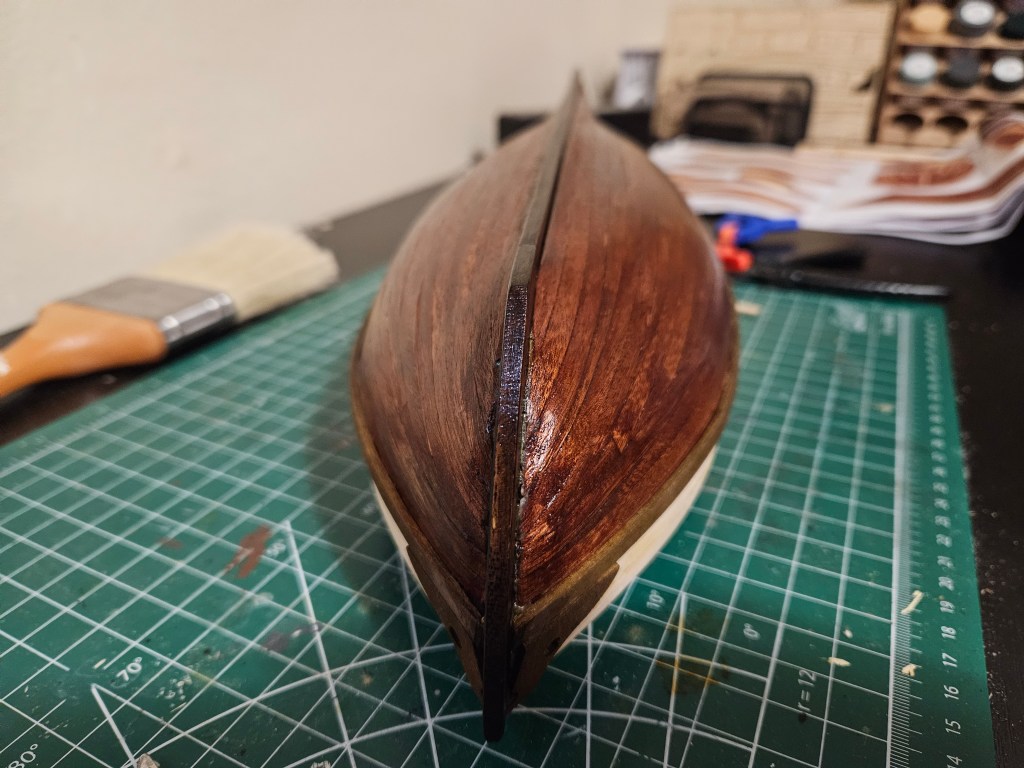
She was then ready for the first planking. To put it mildly, planking is difficult. This was a first for me, and there were many lessons learned. There were a few moments where I felt this was a disaster, and did not want to continue. But I persevered, and felt that the end justified the effort. After a good sanding, the first planking turned out OK.

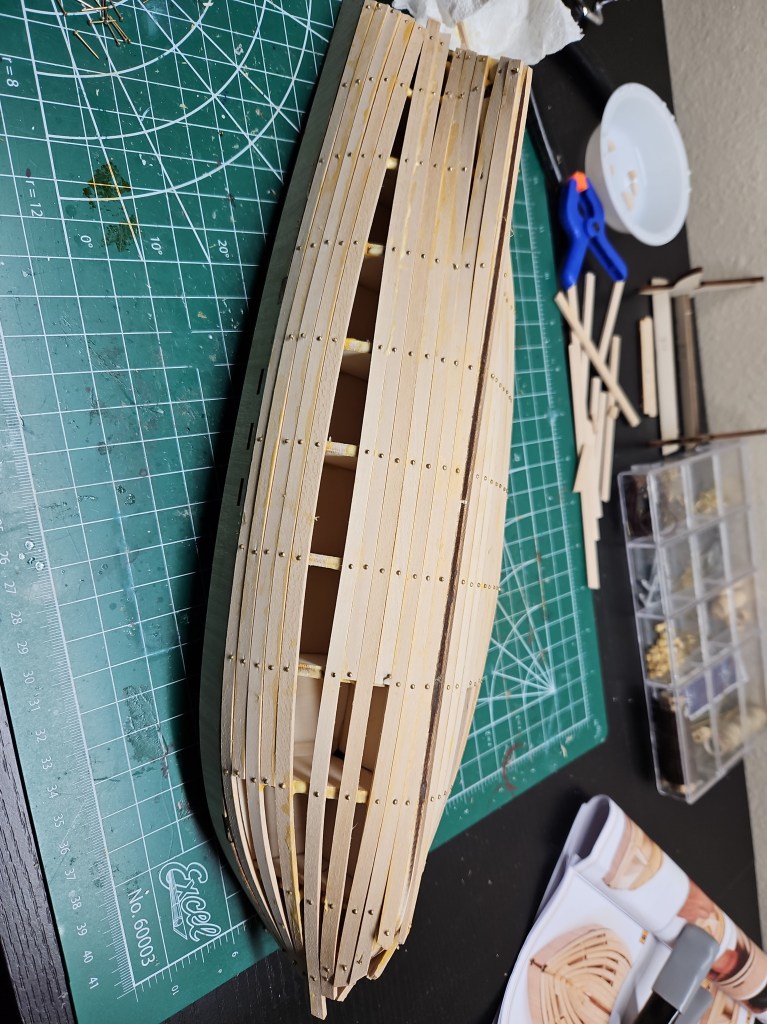
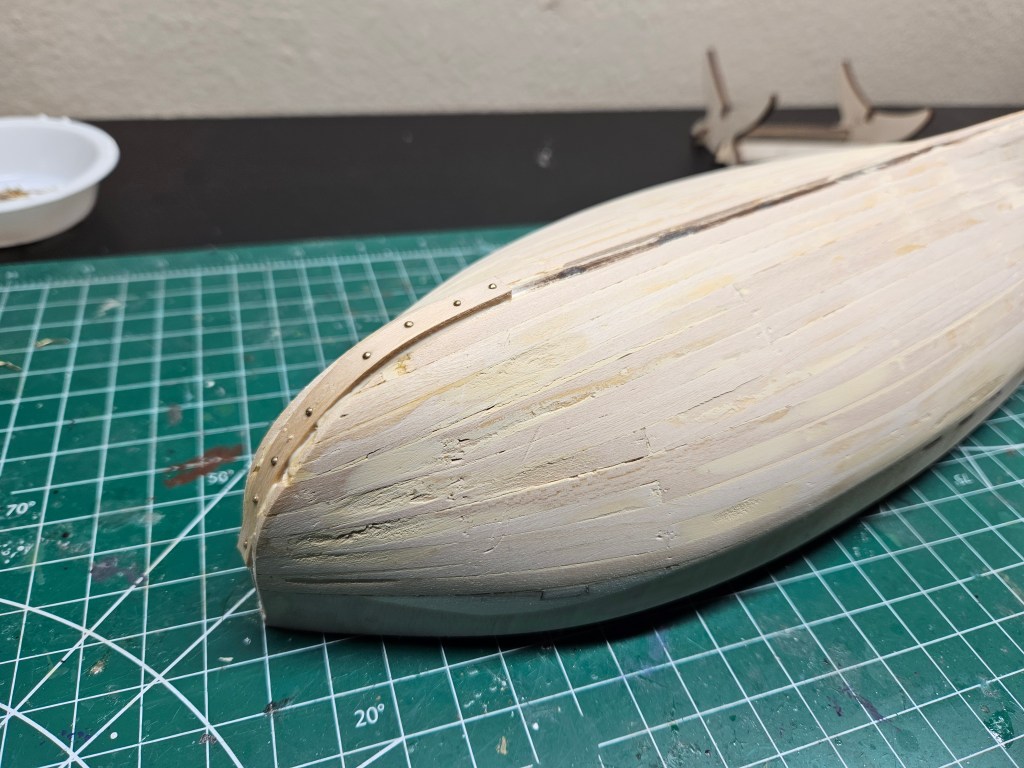

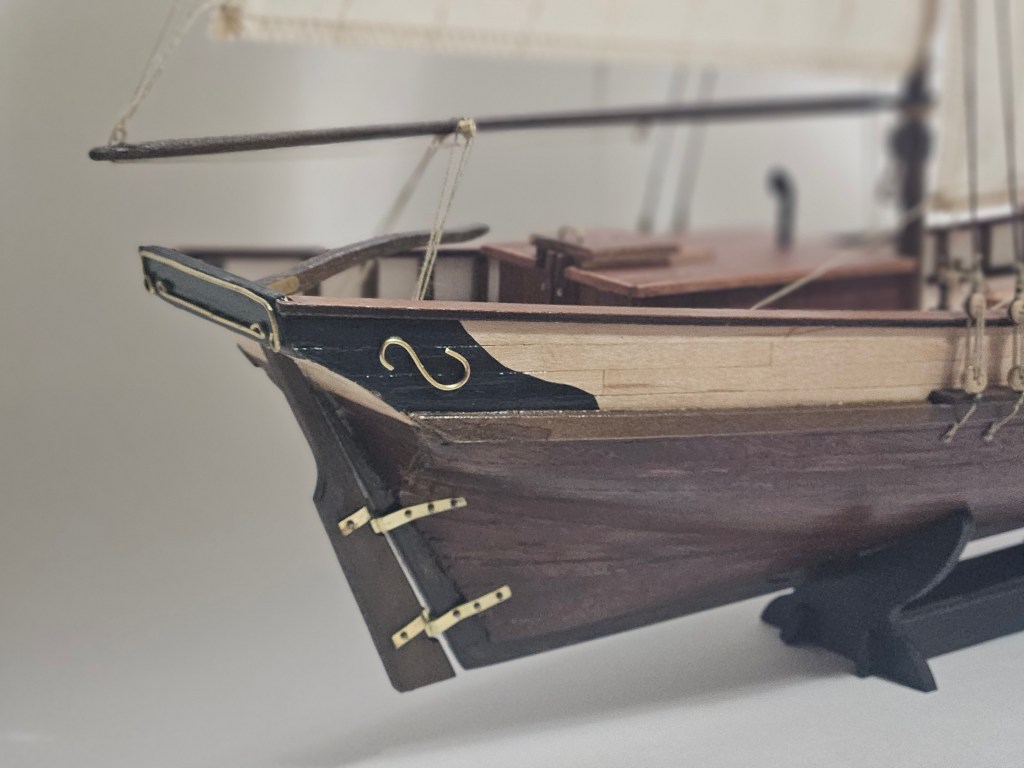
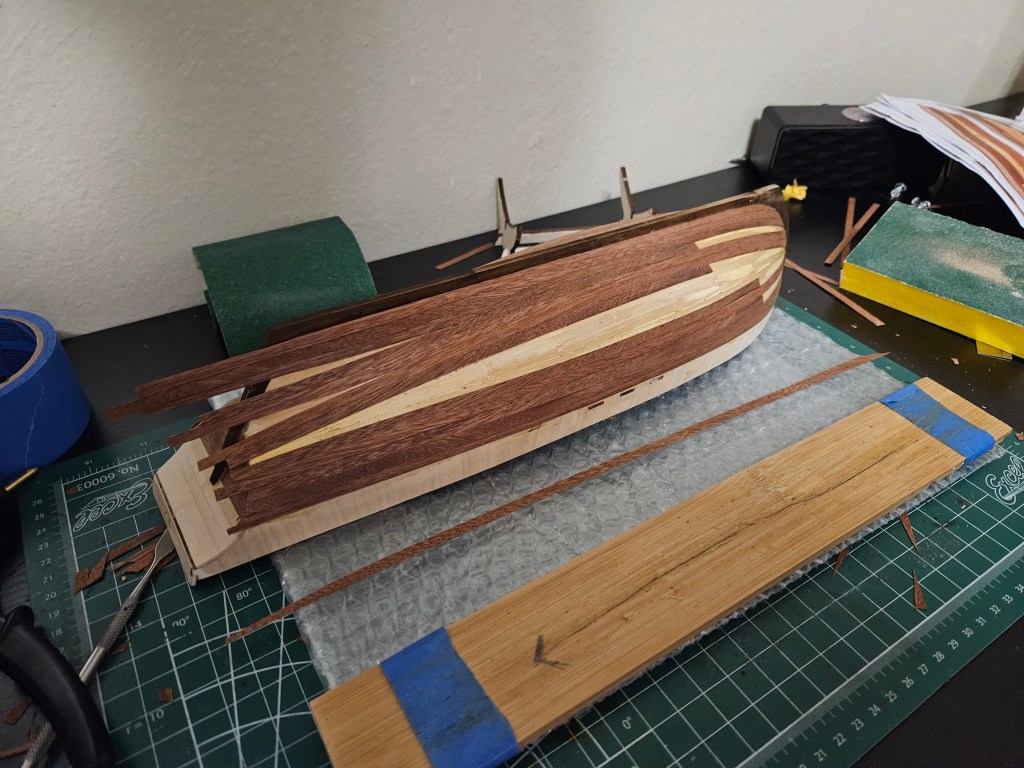
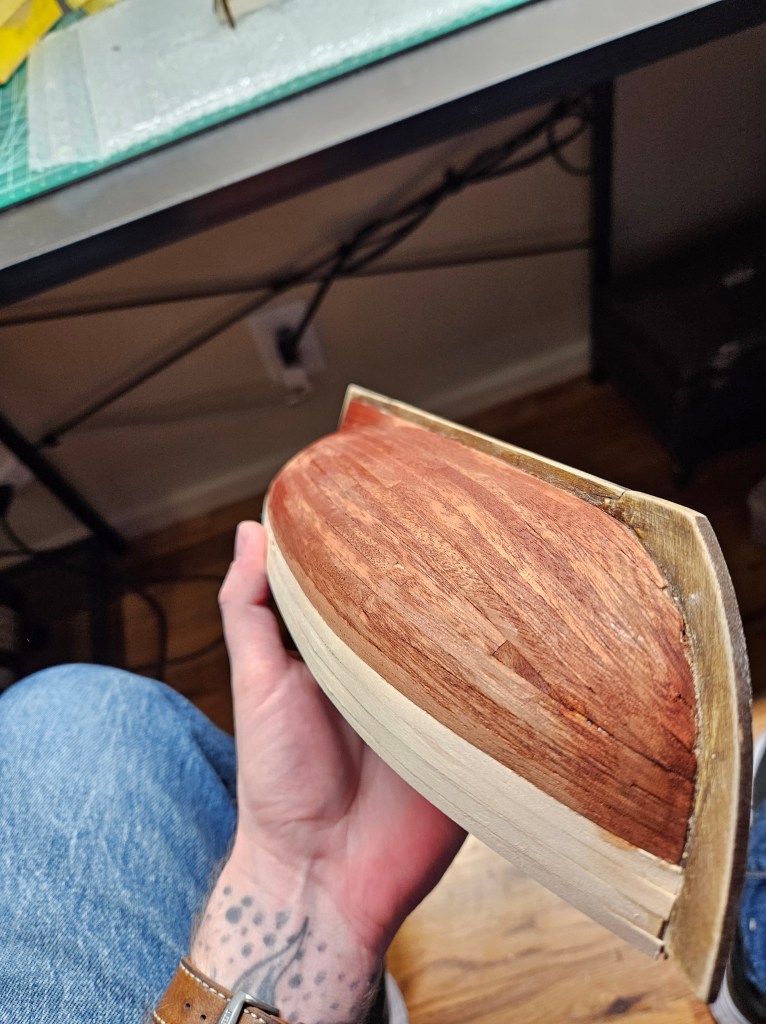
The Polaris, like many OcCre kits, is a “double planked ship”. This means that the first planking layer is made of 5mm X 2mm limewood strips. The next layer is more decorative, made up of 5mm X .5mm walnut strips. The second layer serves as a cover to the first, and darkens the overall color quite a bit.
I experimented with the second layer, trying different types of glue and technique. On one side, I used a contact cement, or “Cobblers Glue”. On the other, I used a standard wood glue and CA approach. While slower, I preferred the wood glue approach. The contact cement wasn’t great to work with, and stank up my room something awful.
After quite a bit of sanding, a coat or three of acrylic varnish provided by OcCre, and attaching the keel, I was somewhat satisfied with the progress of the kit, and no longer wanted to throw it at the wall in shame and disappointment.
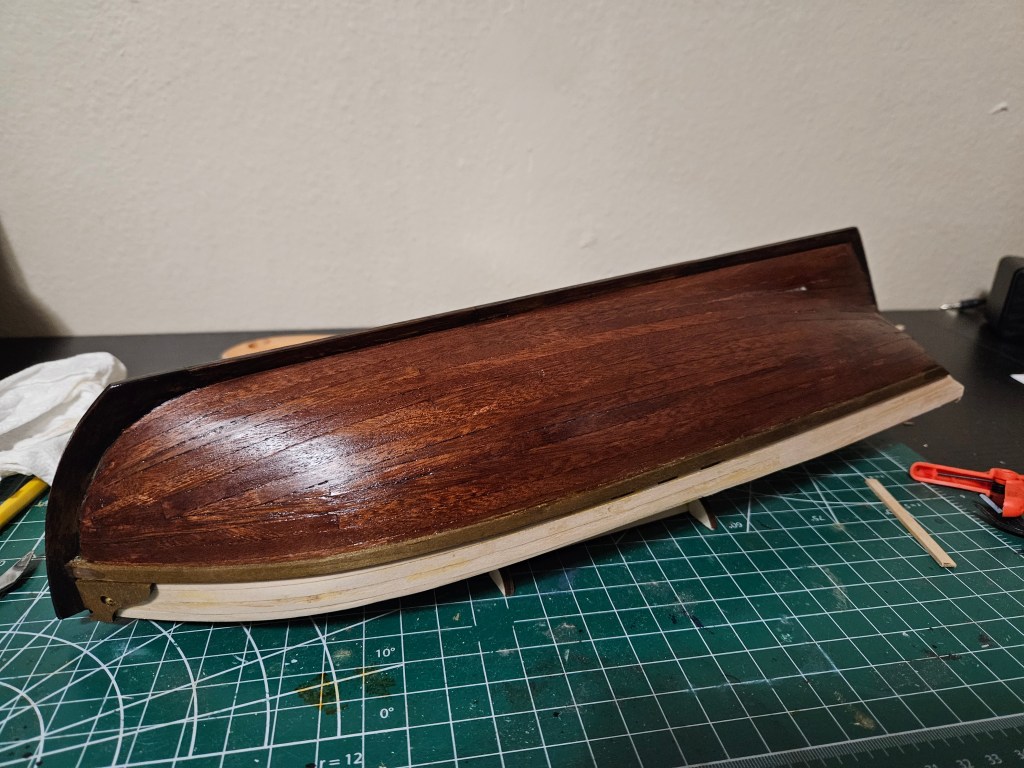
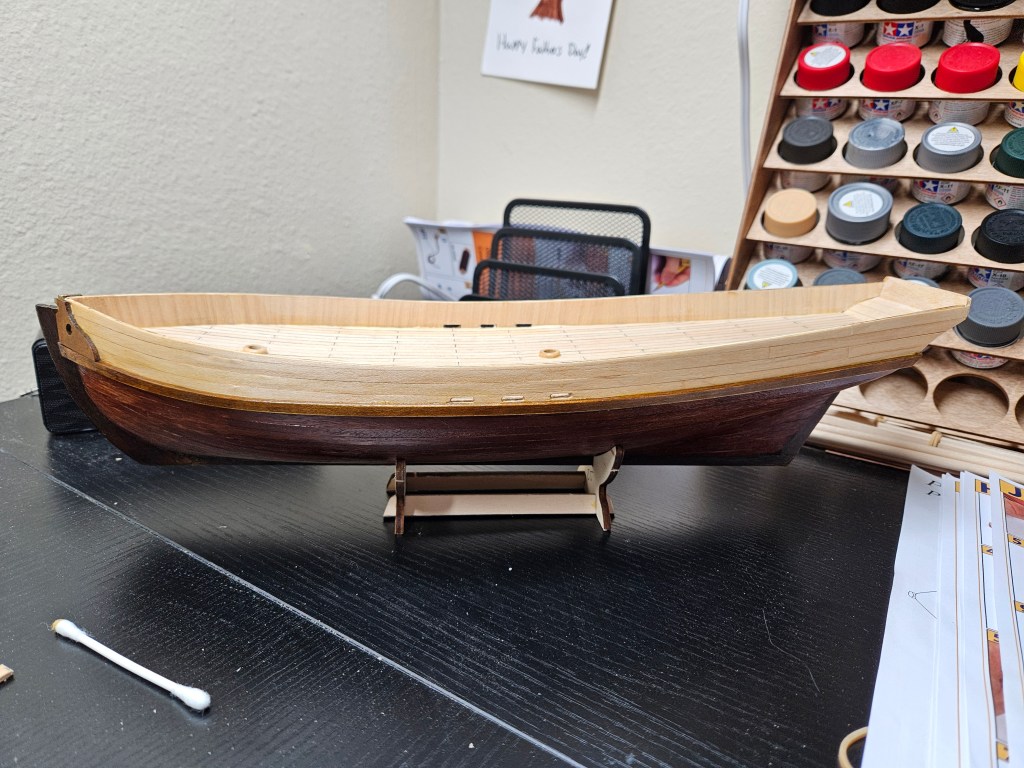
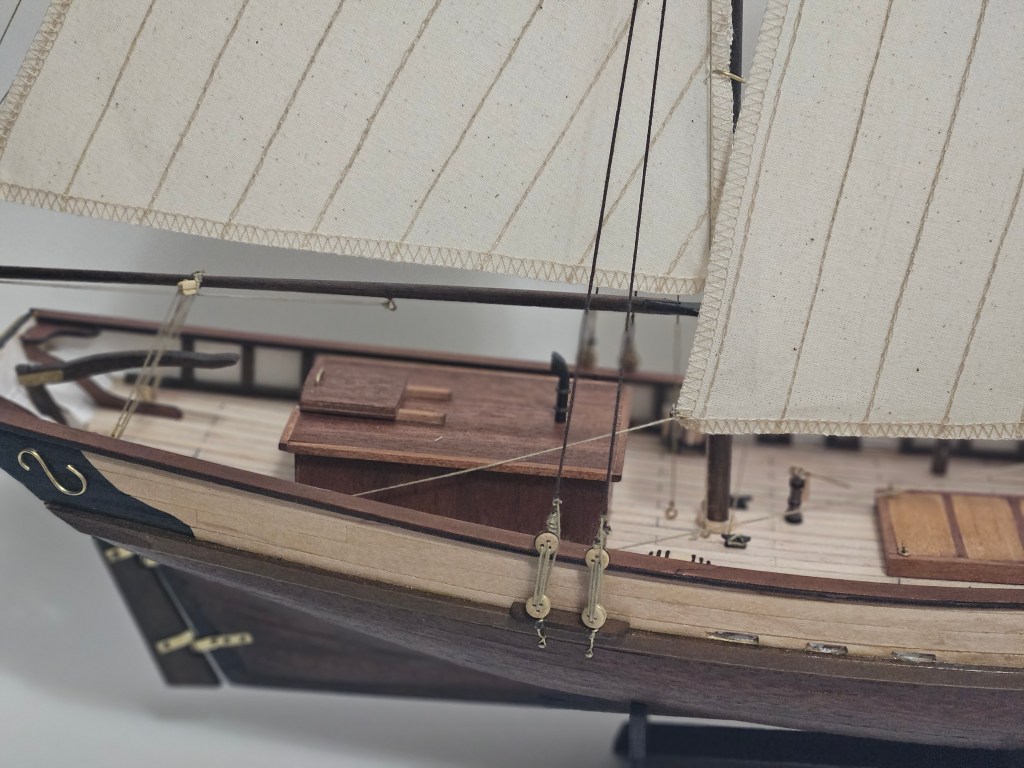
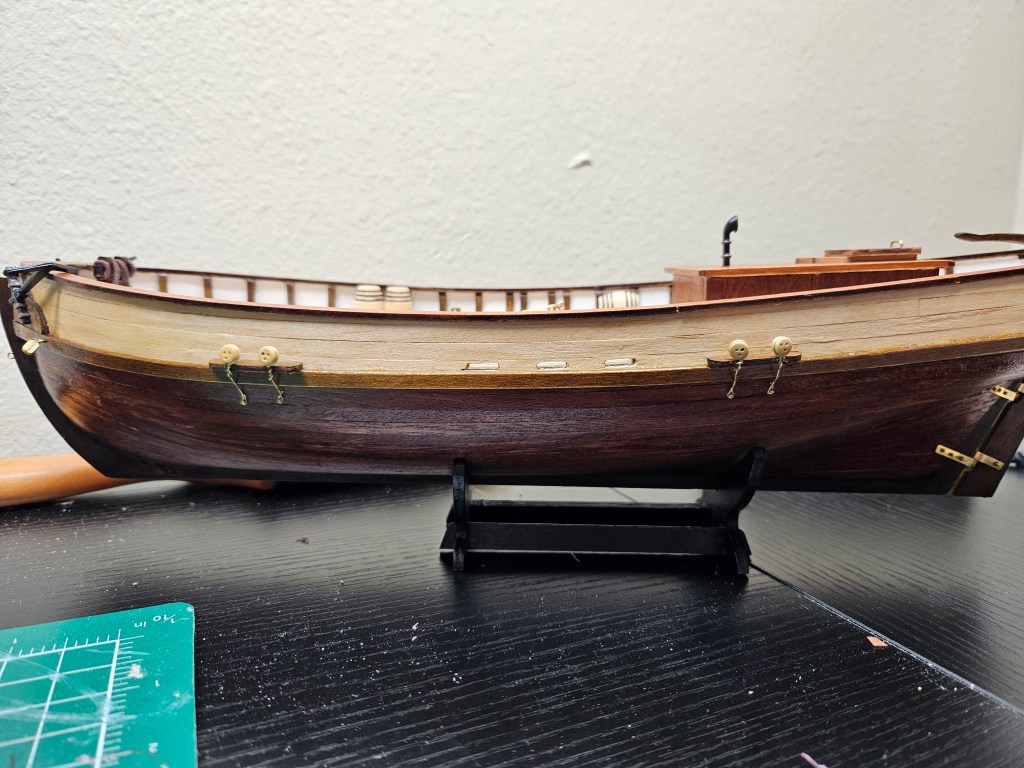
Next I added the interior decorative strips to the bulwarks, and the bulwark caps. Added the brass decorative strips and rudder parts. At this point, the kit came along nicely. I used the provided OcCre stains to provide color, and the acrylic varnish to protect and give the shine.

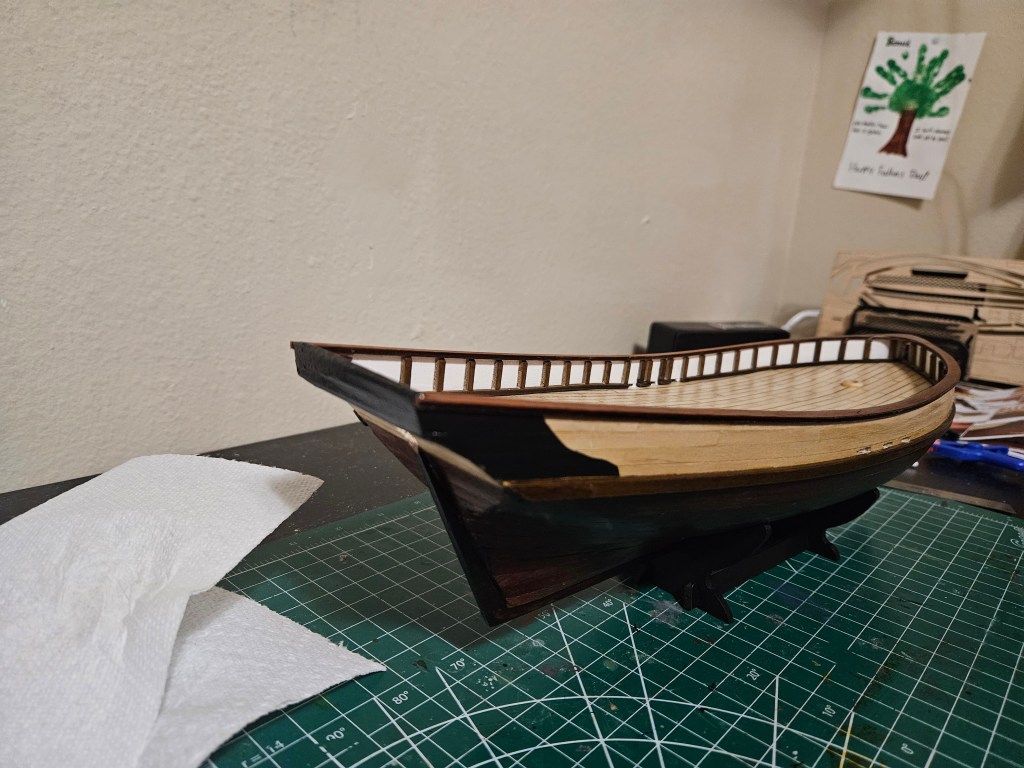
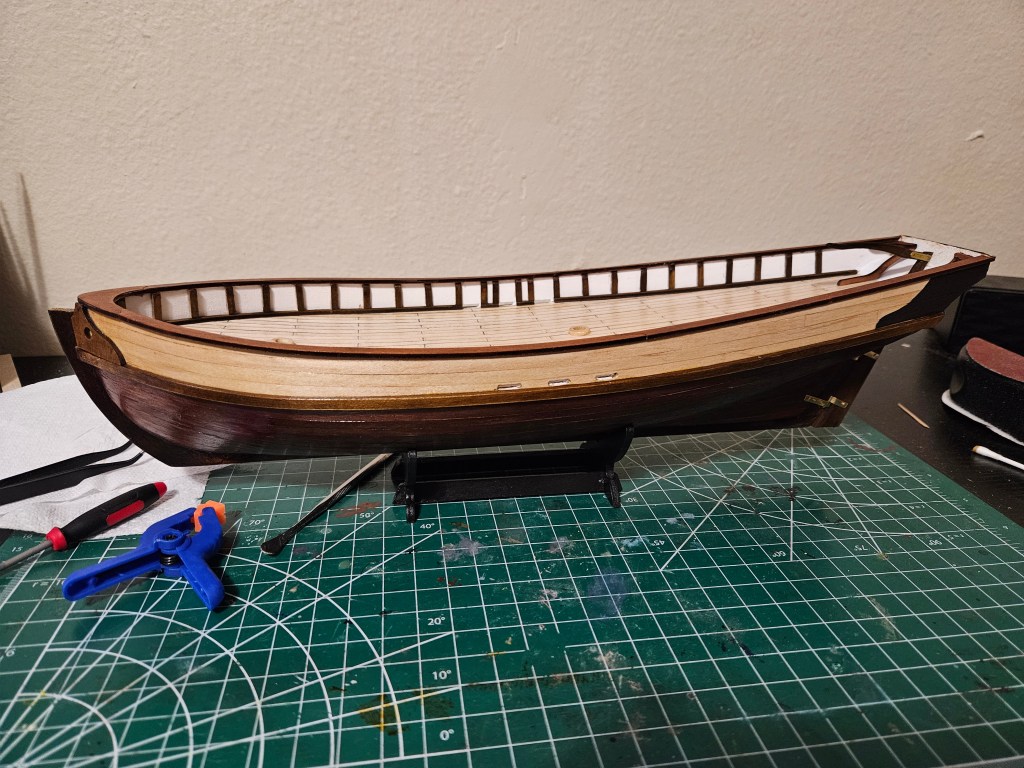
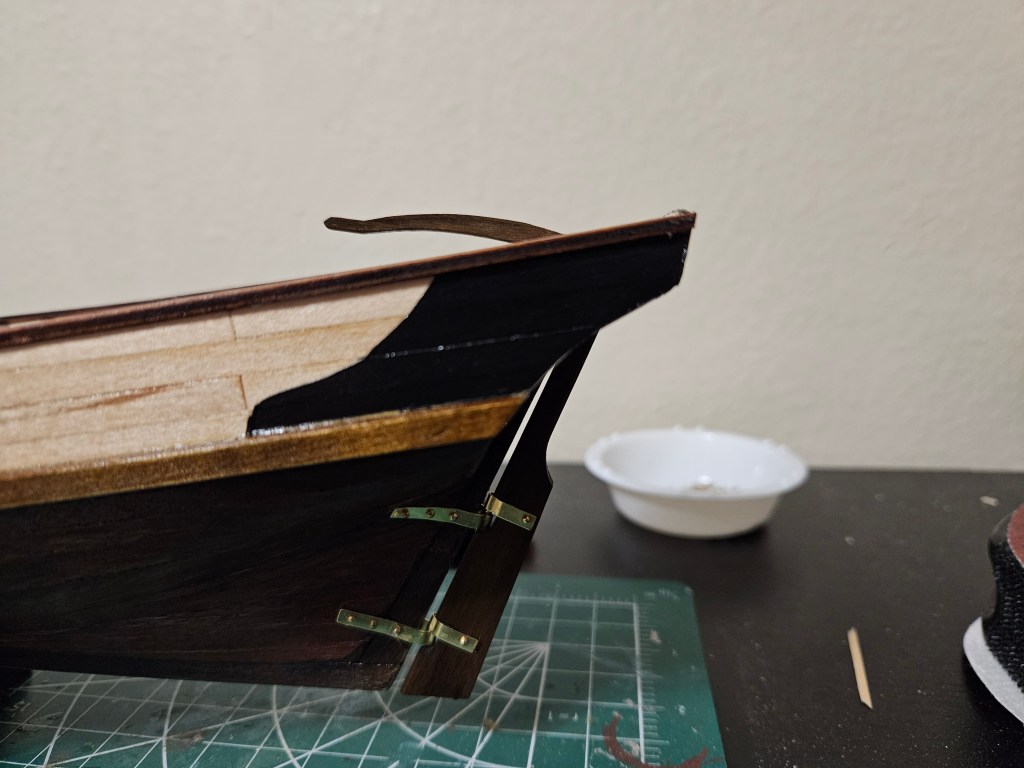
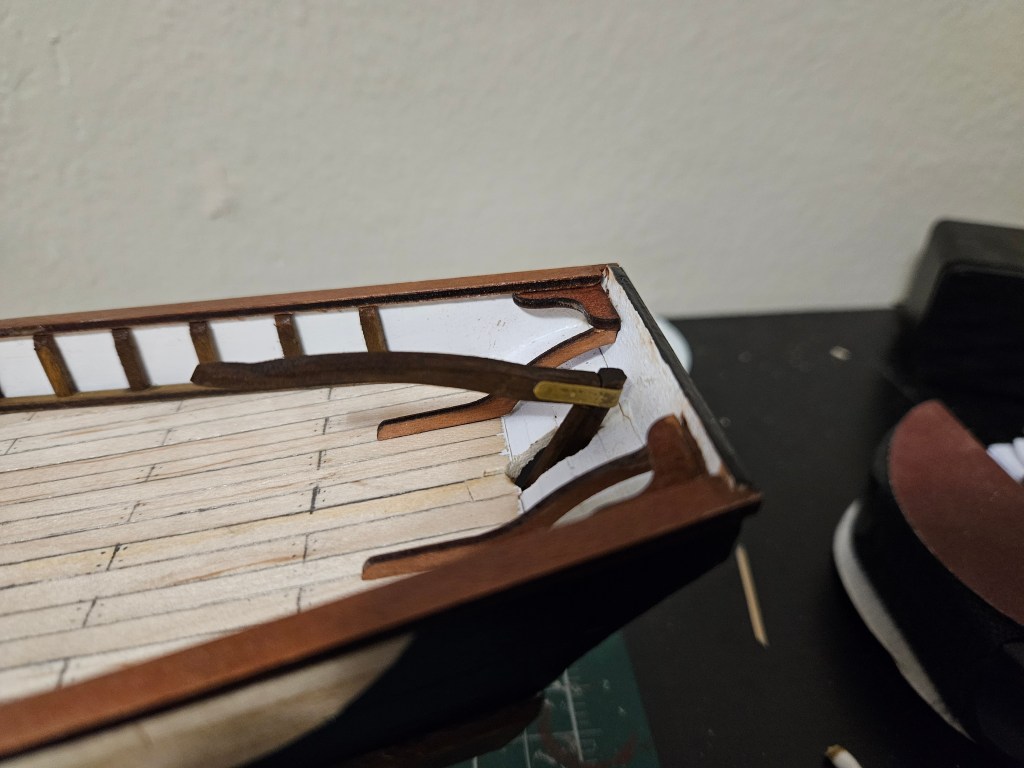
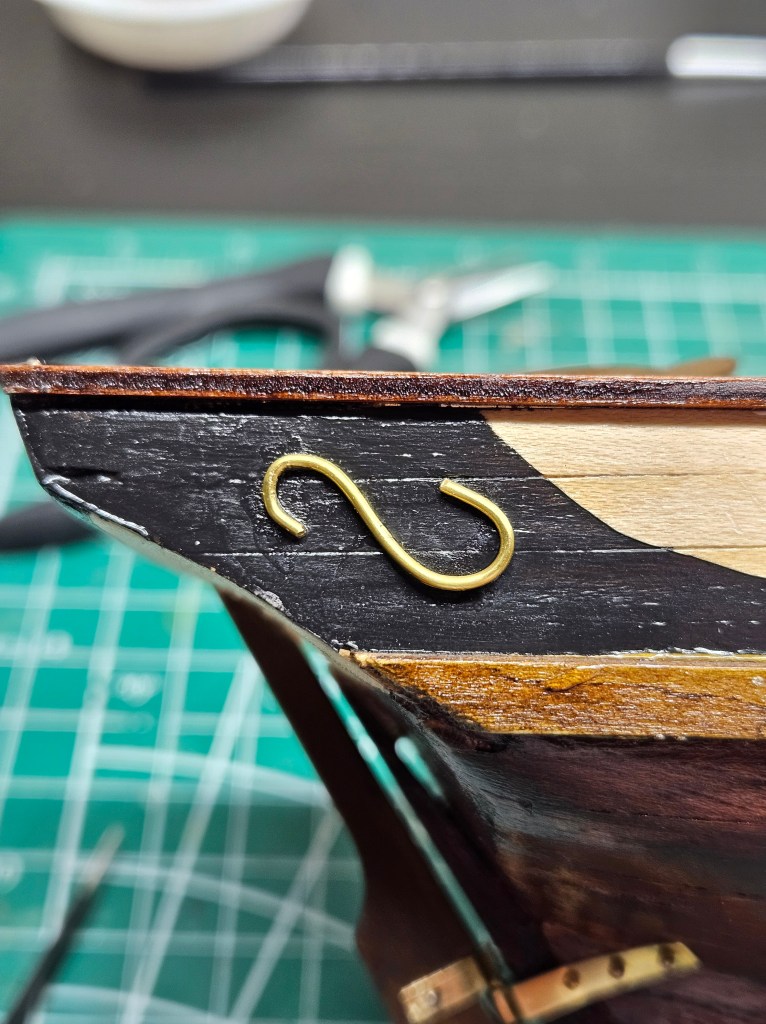

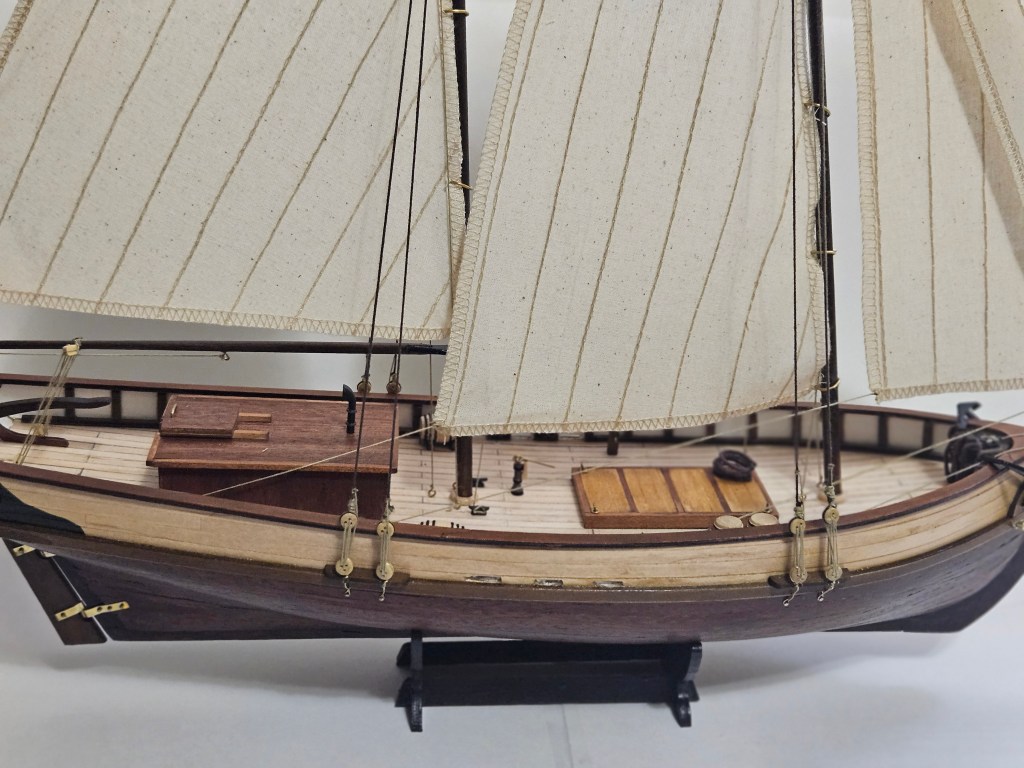
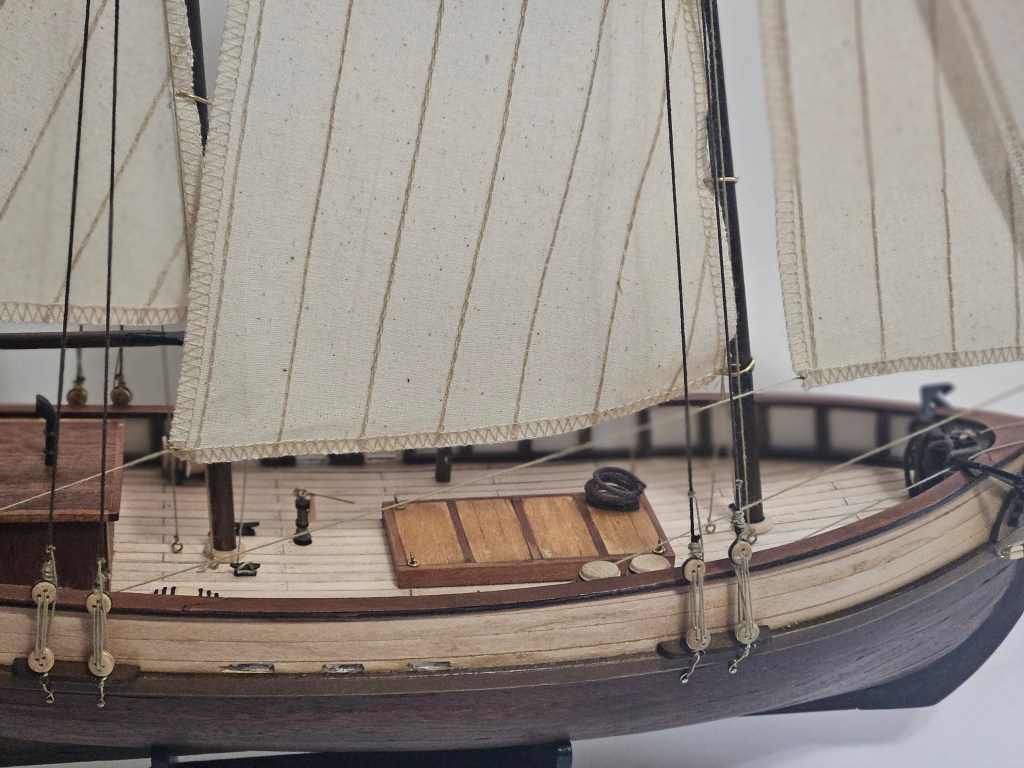
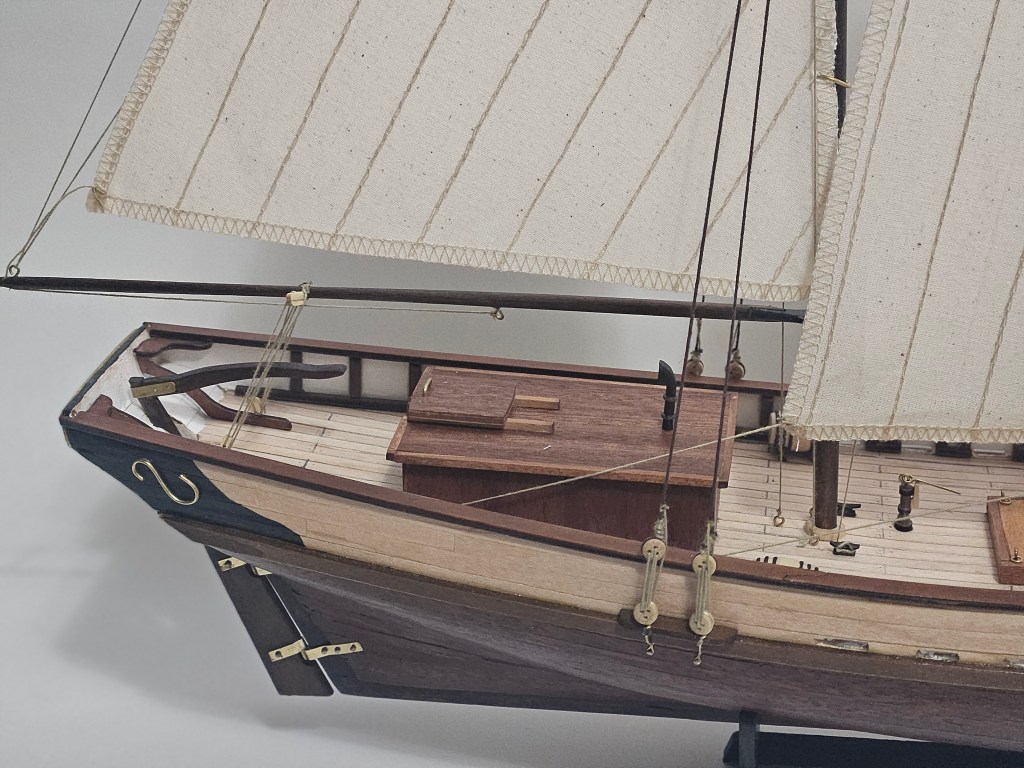
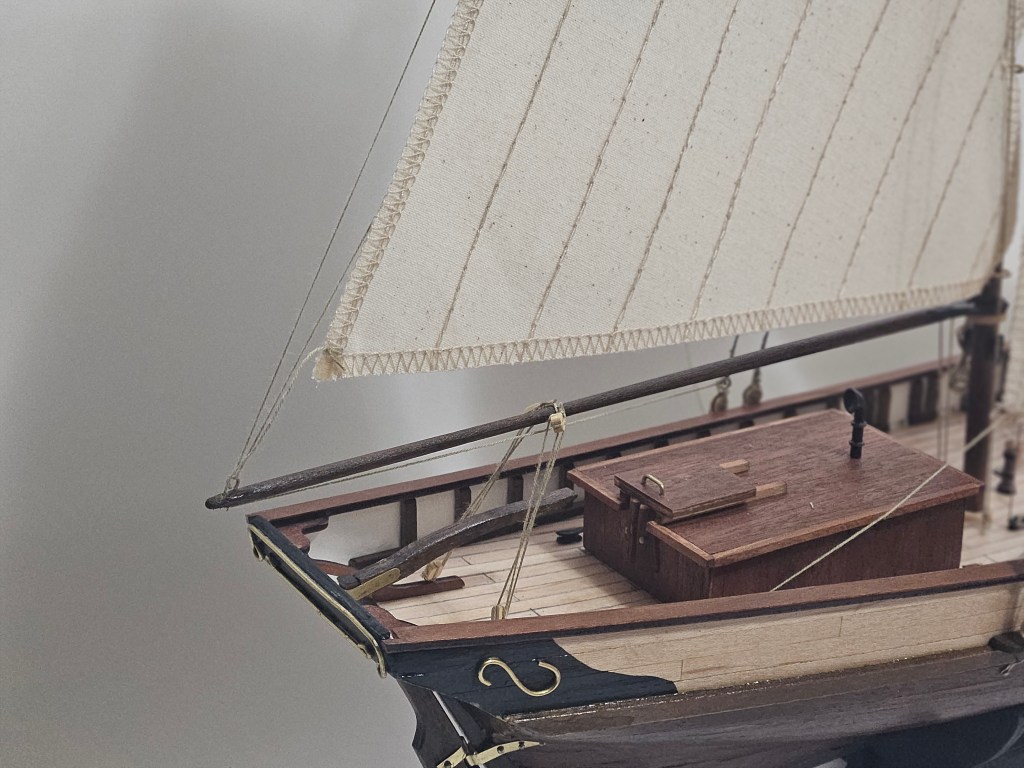
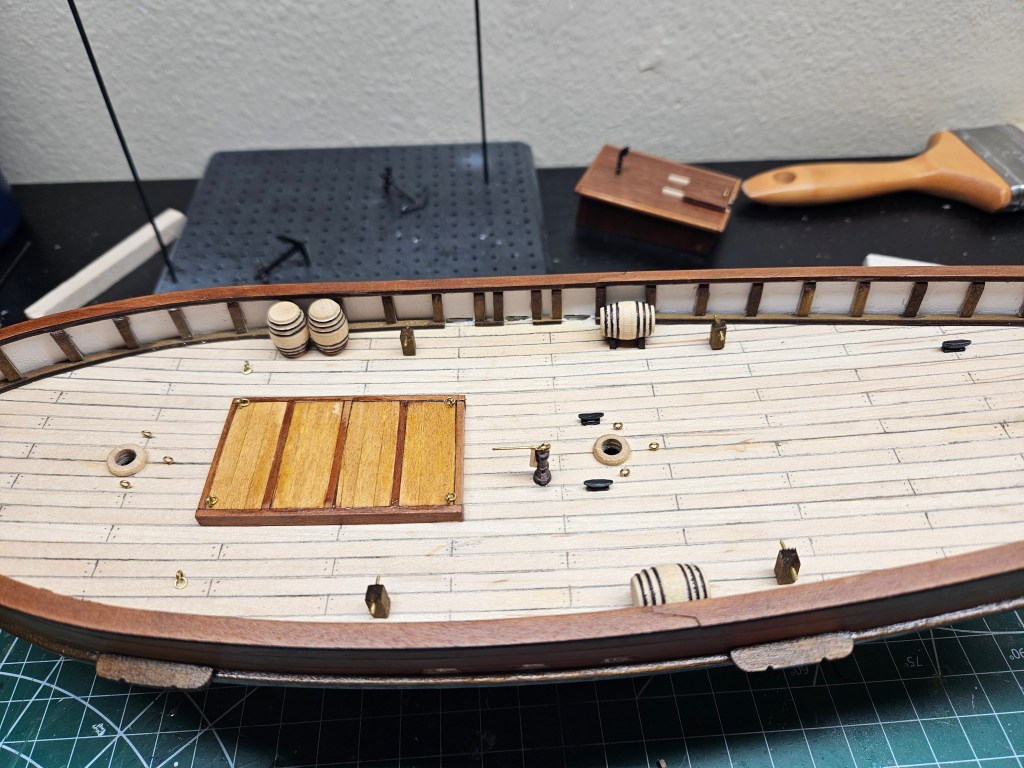
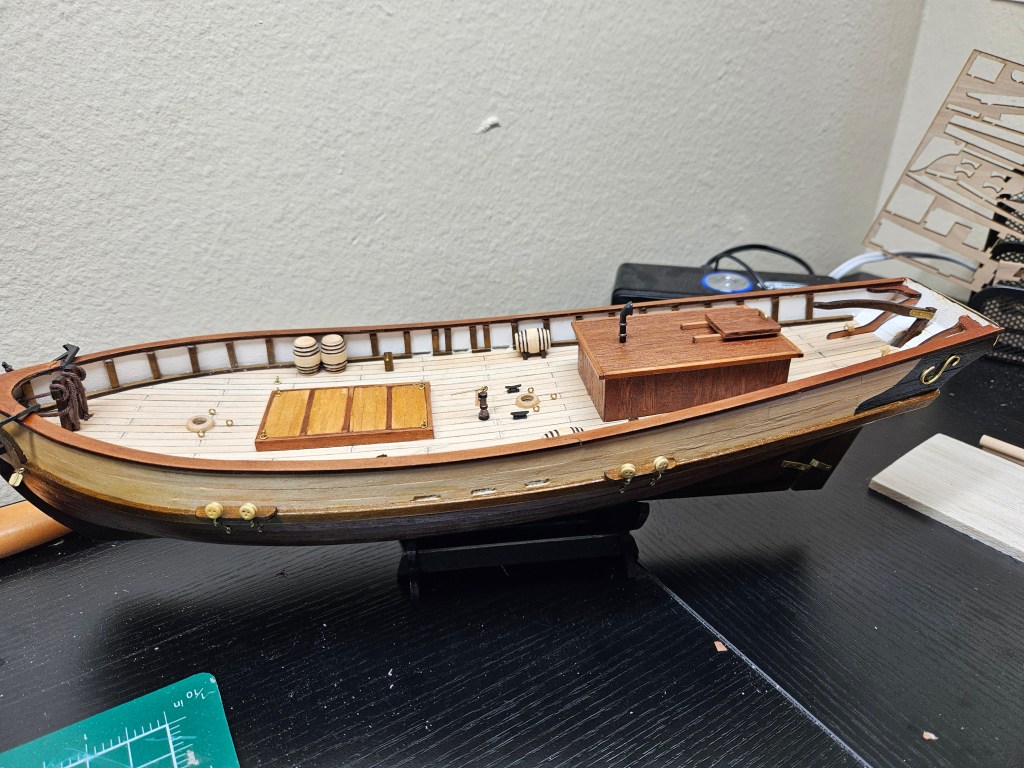
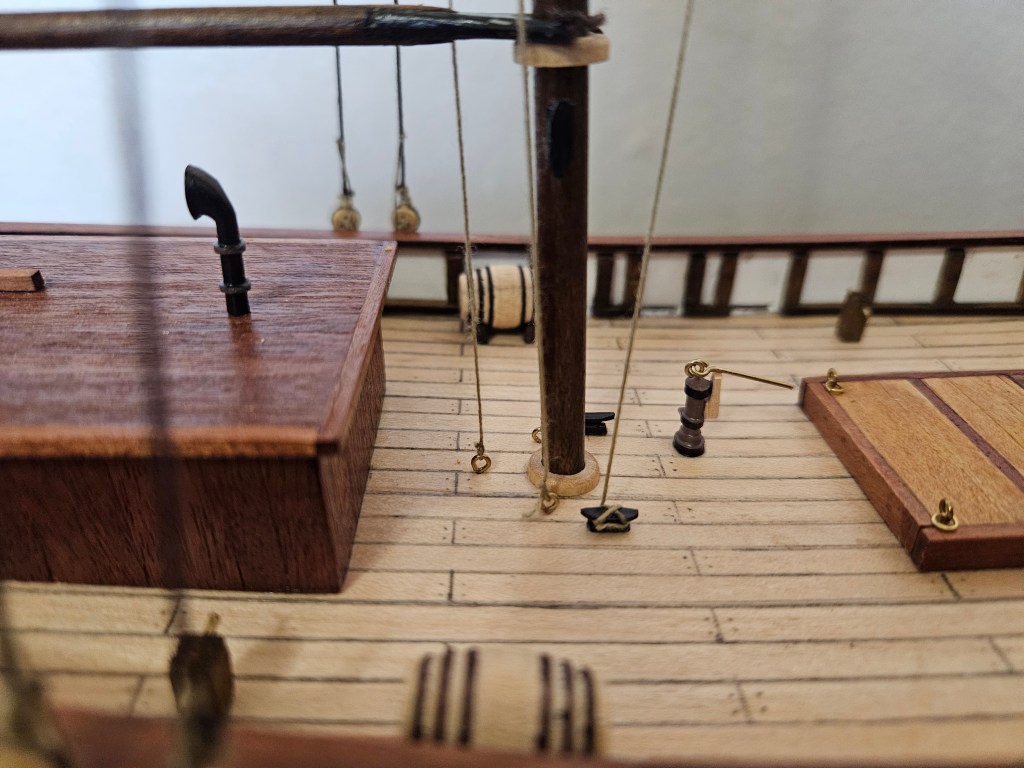
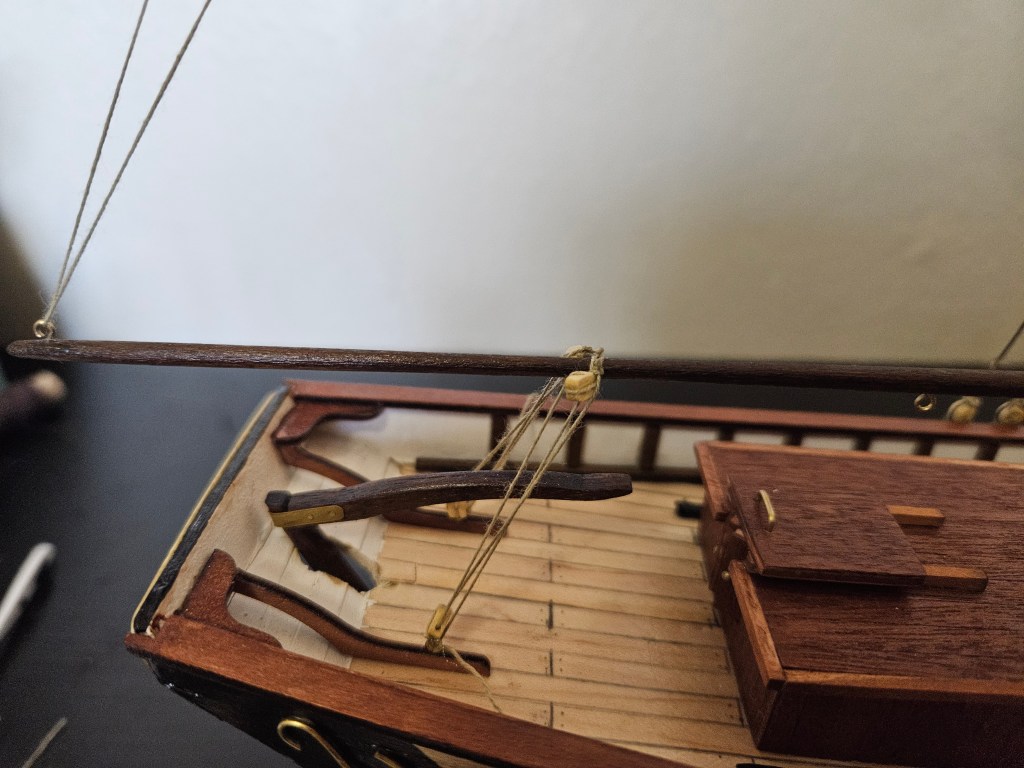
Onto the deck details, including the hatches and deckhouse. These were each “mini projects”, and added quite a bit of depth to the ship. I also added the anchors and chainplates.


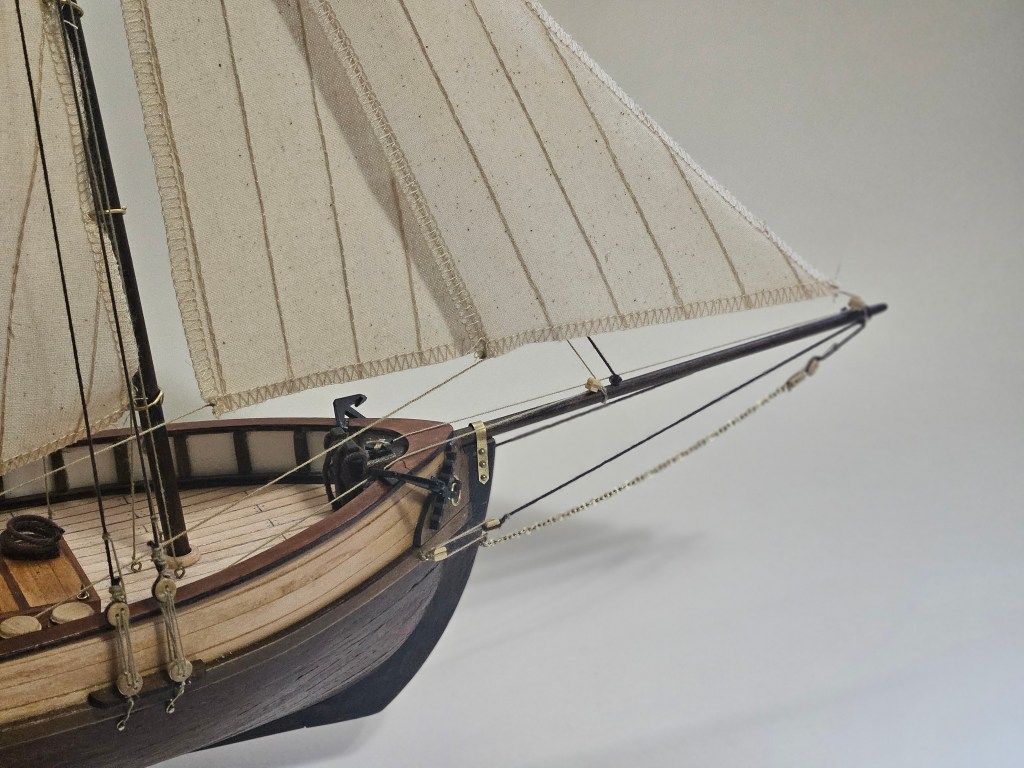
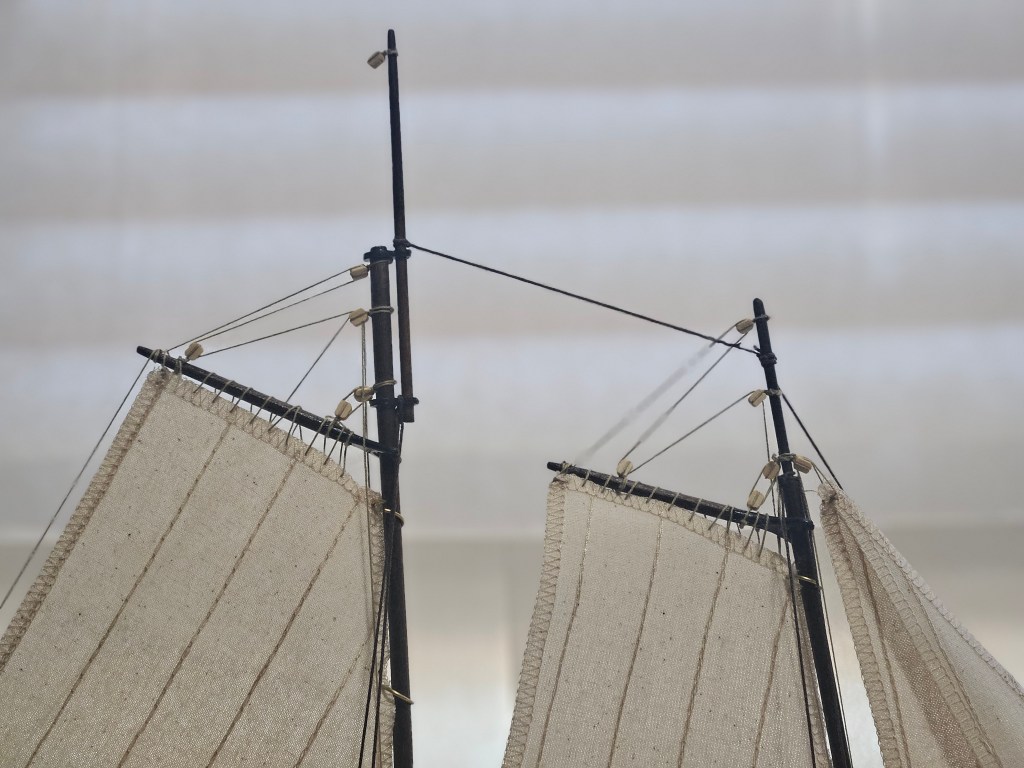
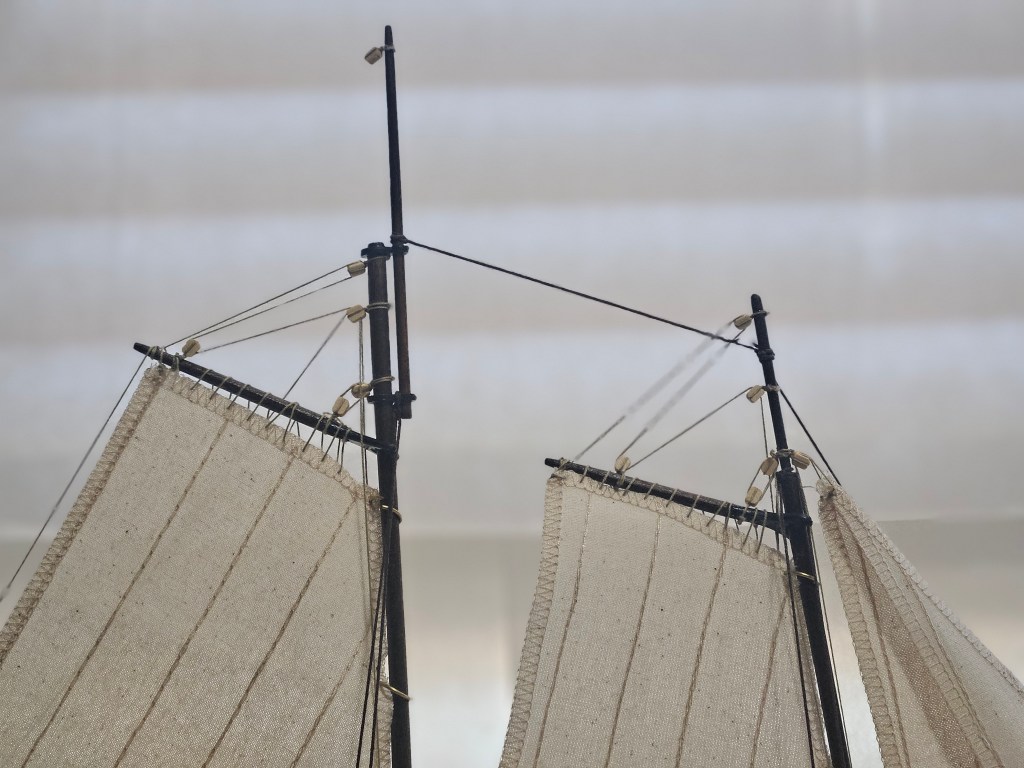
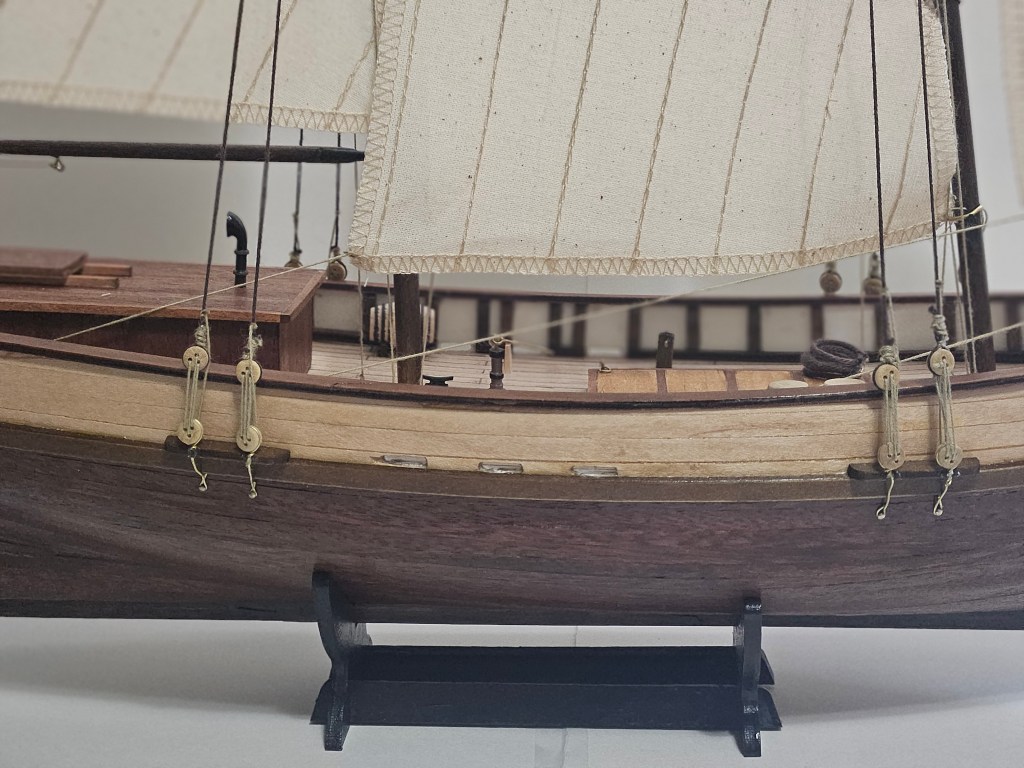
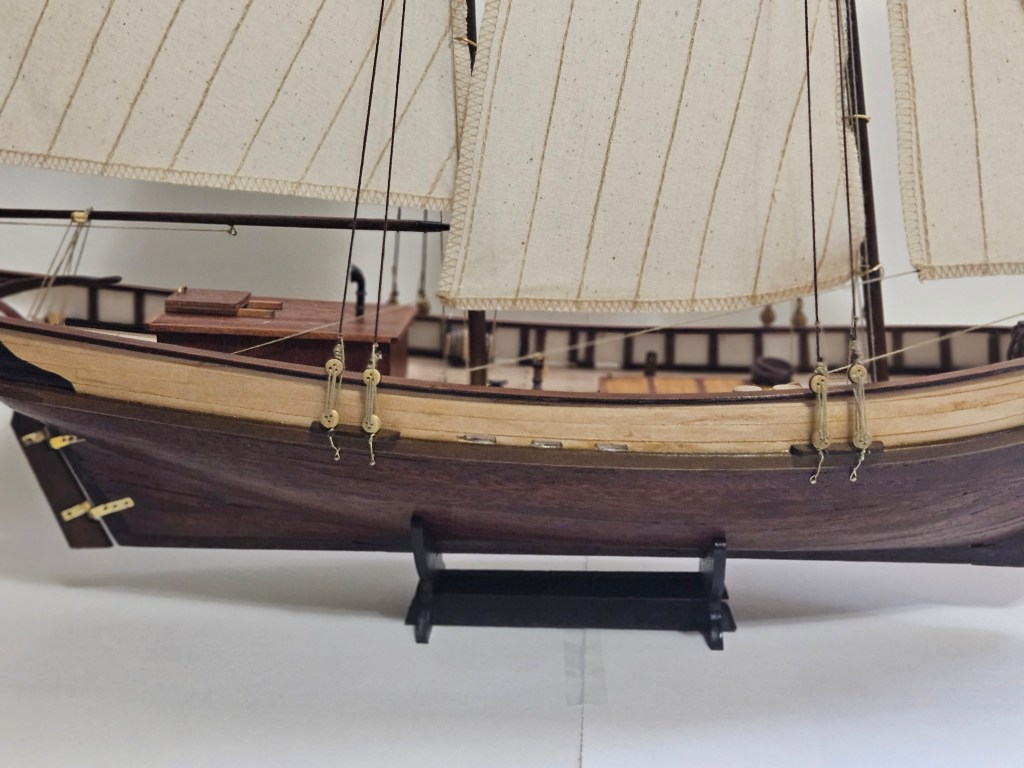
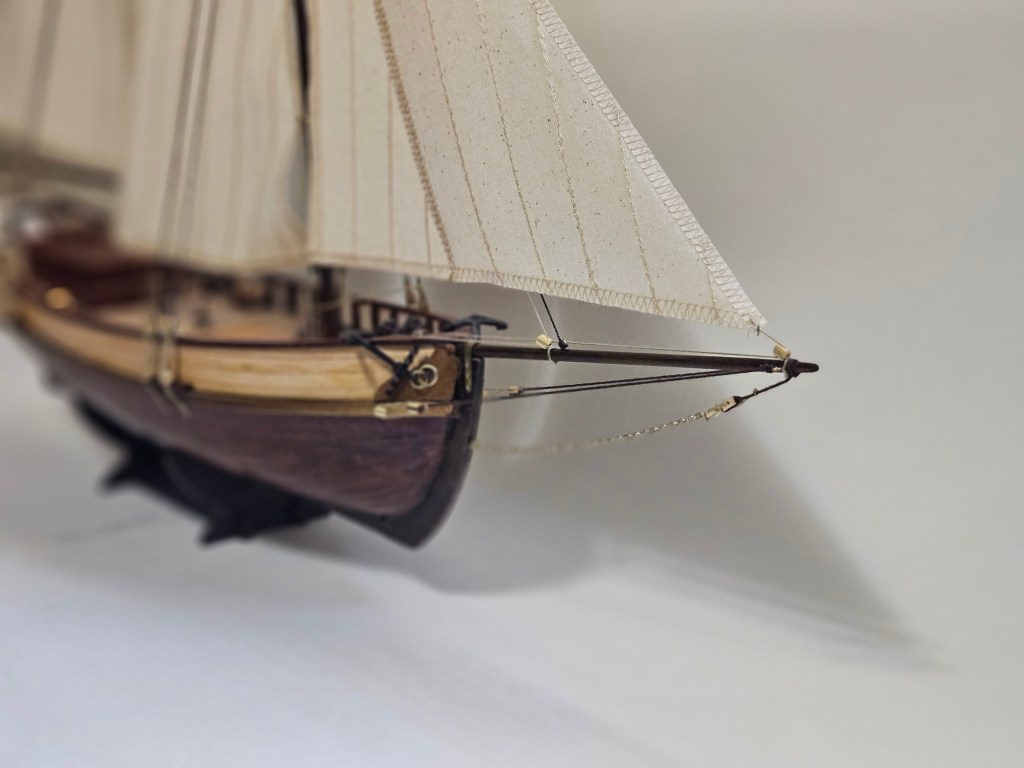
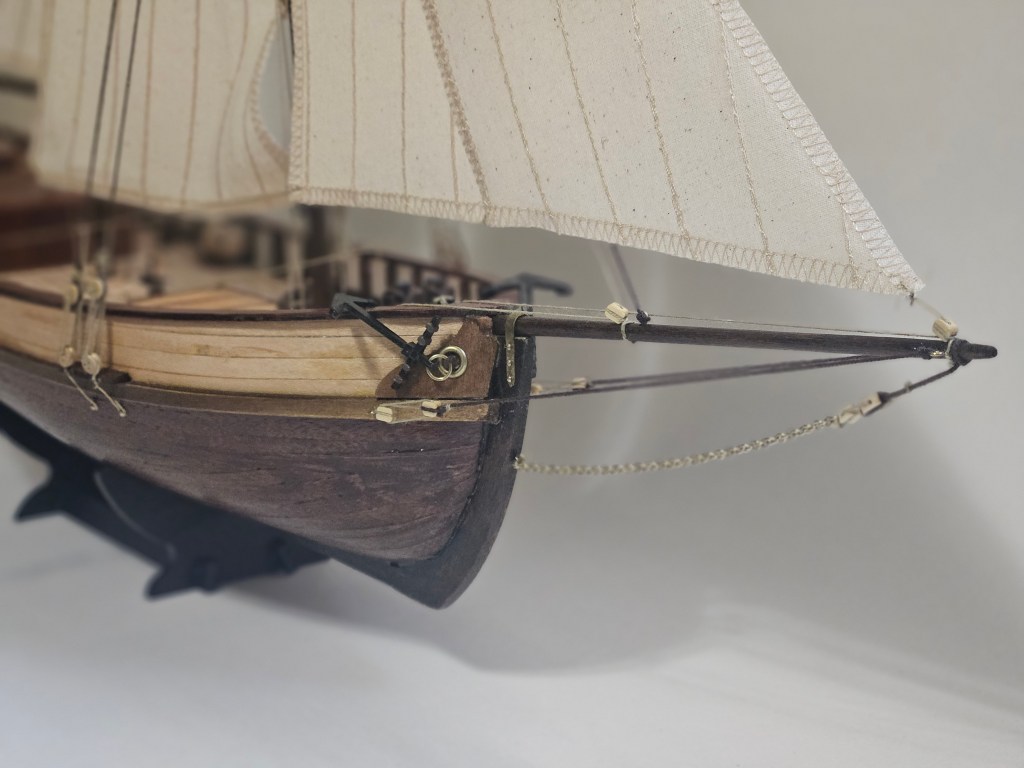
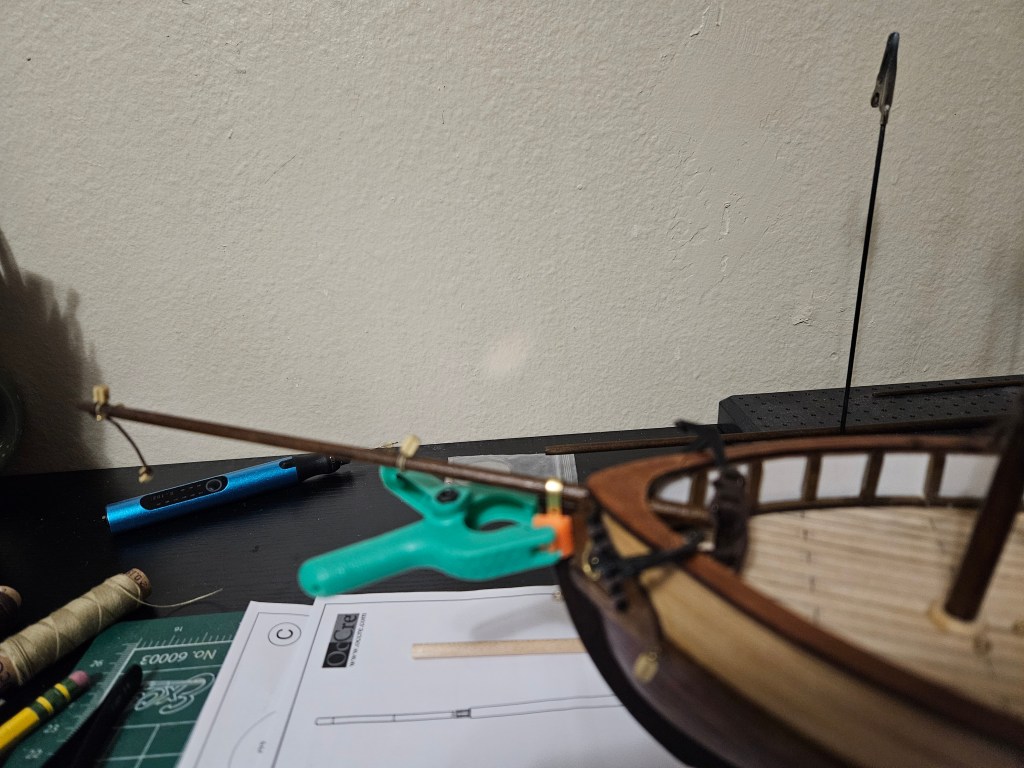
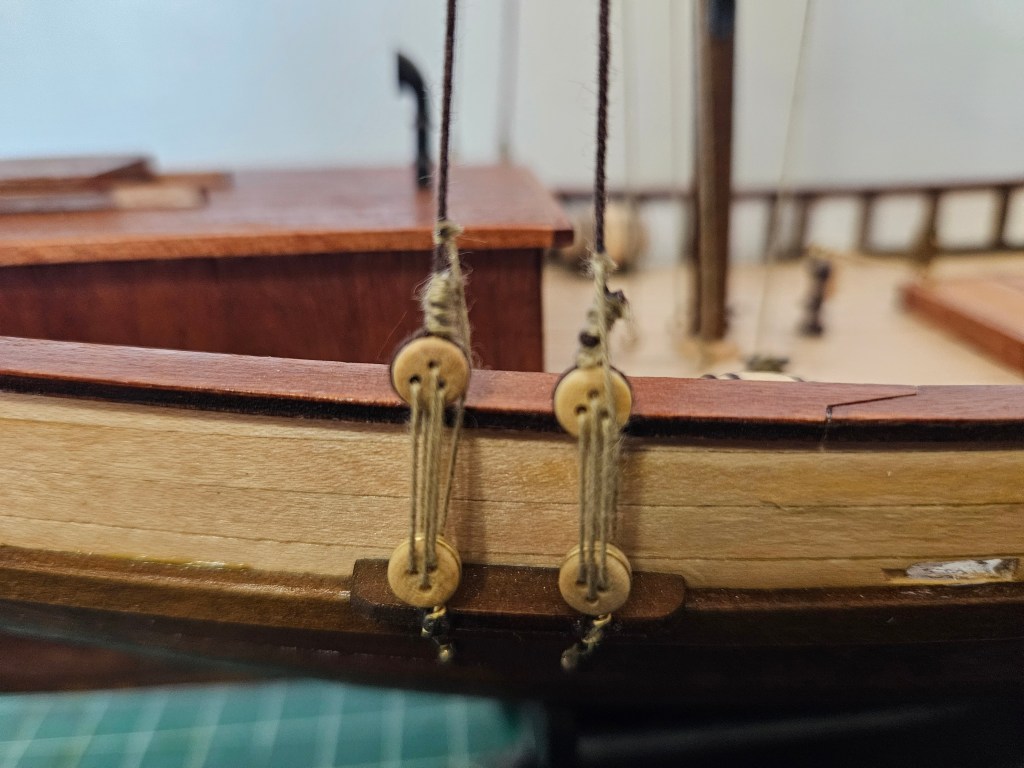
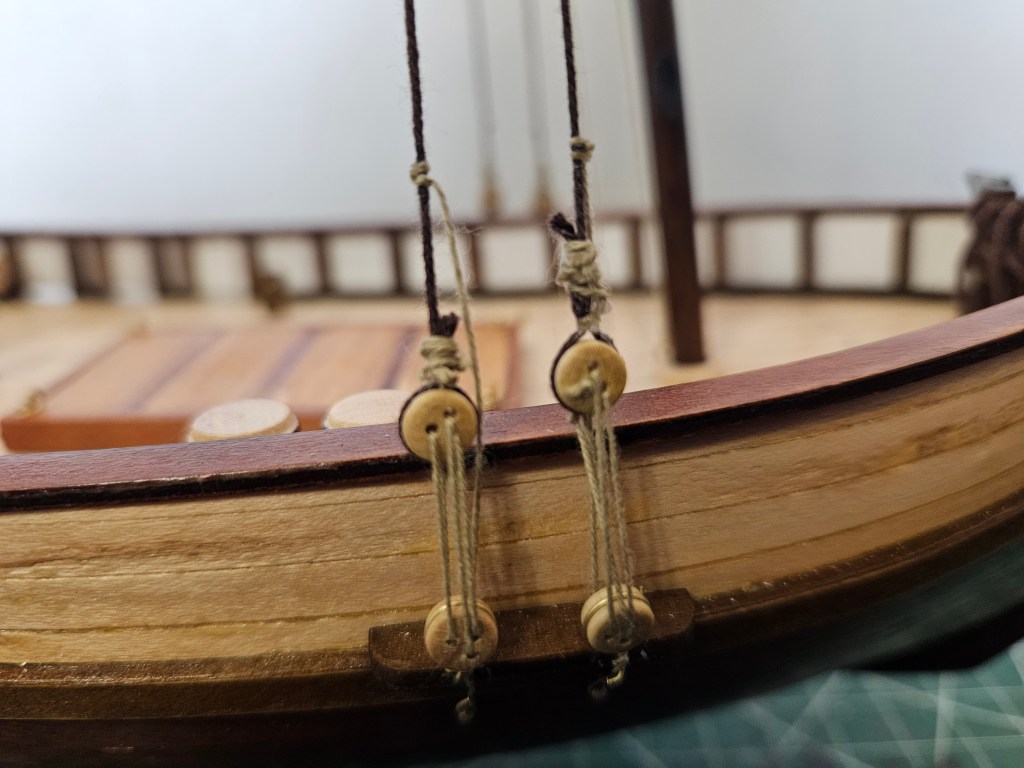
At this point the hull itself was mostly complete, and it was time to start the rigging. Despite many new ship modelers being intimidated by the rigging, I found this part to be somewhat relaxing. The many knots became tedious after some time, but the challenge was rewarding.

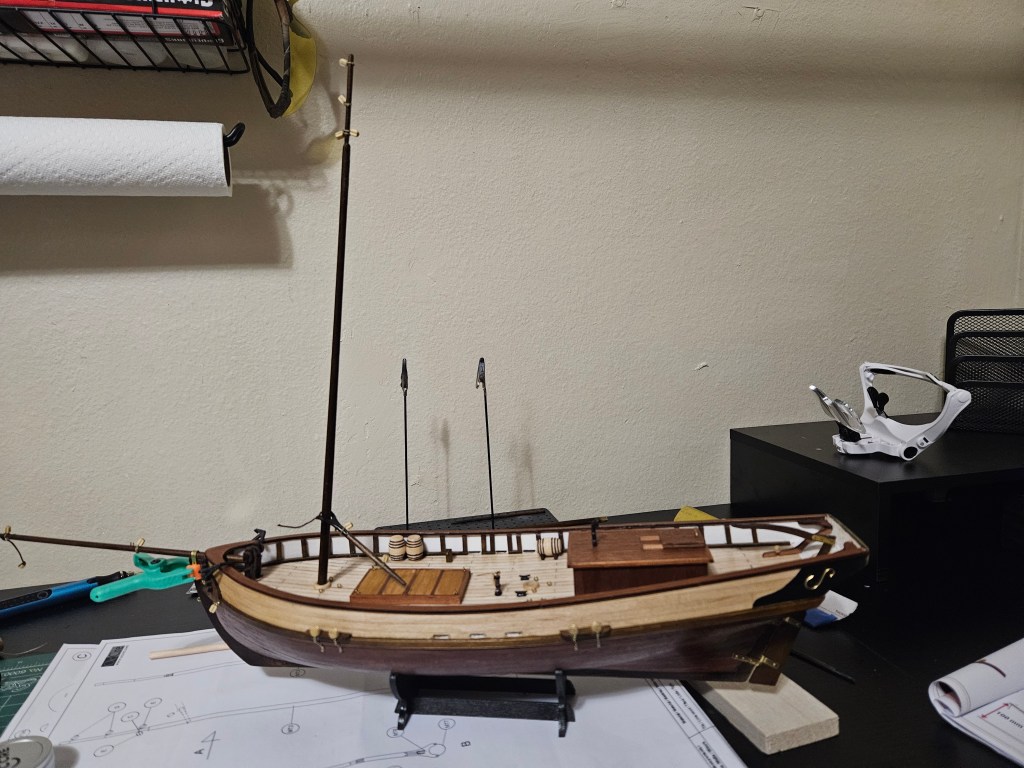

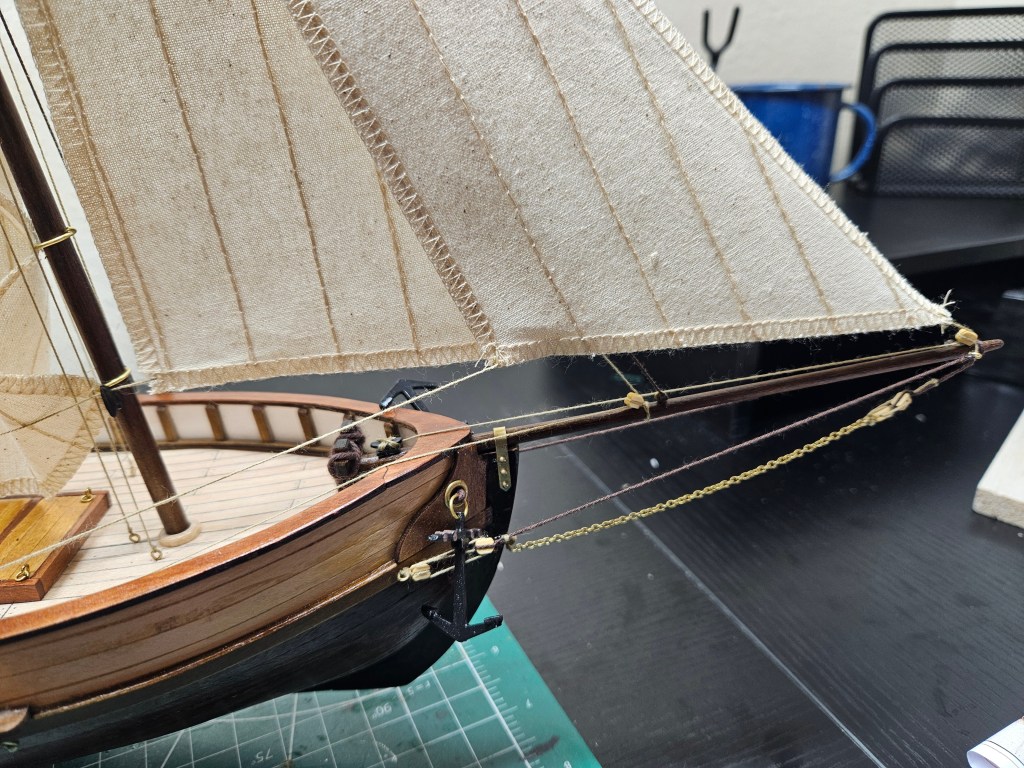
Lastly, it was time to add the sails and final details.

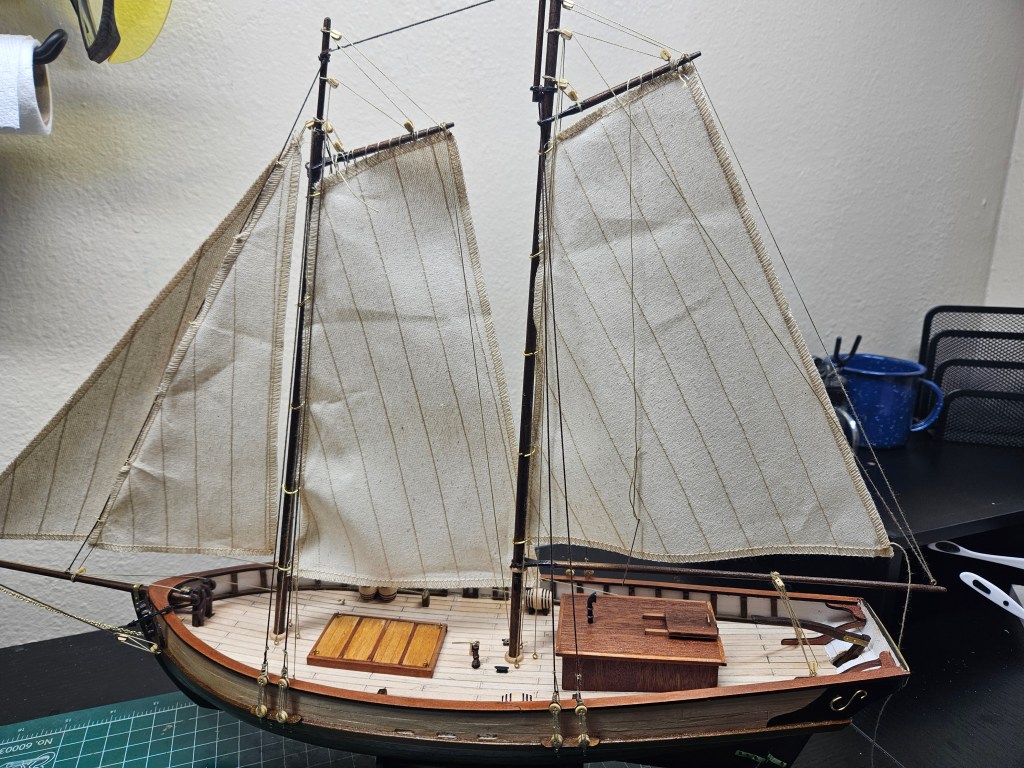
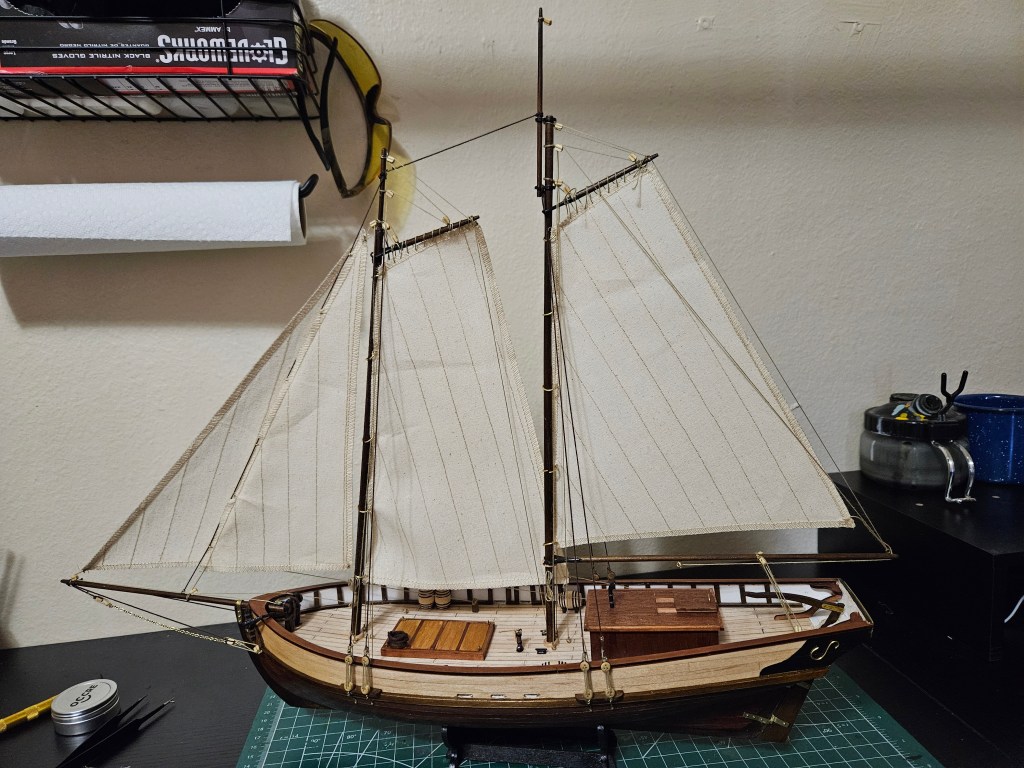
Completing this kit took about 2 months, with some time off in between. I’ve learned that when I’m not really feeling crafting, it’s good not to force it. After all, it’s a hobby, and should be fun.